
Recolor – Part 4
We’re now in week 4 of recoloring. I never planned that tips to recolor would span weeks. But I shouldn’t be surprised; we all know I can get wordy. And in my own defense, I really try to give you as much info and details as I can. My primary goal is always to help you be successful in your creative endeavors. Just please know I try very hard to keep it as short and sweet as I possibly can.
Alright, enough apologizing and back patting 😉 It now feels like a long time ago that I promised to show you how to recolor something to white. Well, today’s the day. I’m finally going to get that done!
Recoloring an object to white in Photoshop Elements (PSE) is generally moderately difficult, depending on the object’s original color and texture. I’ve read that it’s supposed to be easier in newer versions (2025+) using the Change Object Color tool.
Caution…grousing ahead!

As you likely already know…I’m not that current! I’m also not a big fan of the current PSE “3-year term, non-renewing license” (as opposed to the former “lifetime” license). After the term ends the Editor portion of PSE no longer works and you’re required to purchase a new version. That means at the end of three years you must upgrade, go back to an old version (2024 and older) or stop using PSE altogether!
Whining complete. So now moving on to the real topic…
Recolor White
One of the greatest things about digital scrapbooking is all of the beautiful colors that designers use to make their papers and elements. But sometimes, even with all of the gorgeous colors available, vibrant color isn’t as necessary as something neutral or basic white.
I talked about how to “neutralize” colors in my “Neutralize Colors” post from May of 2025. If you read that post, you already know how to turn vibrant colors into something neutral.
So, as promised I’m going to show you how to take both paper and elements and turn them white. But be warned, there’s really no foolproof way to do a great job changing any color to white. There are a few things that work but none of them are 100% accurate.
Before I go into the details of recoloring something to white, I need to give you a quick heads-up. There is one kind of object I have yet to discover an easy, effective way to recolor white…anything with glitter. I’m fairly certain I’ve tried everything; Replace Color, Hue/Saturation Adjustment and the method I’ll show you today.
The inherent problem with most glitter is that it generally already contains a significant amount of white. Therefore, any attempt to change the other color(s) to white generates a result that in essence, is a plain white object. At least that’s my experience. If you know something I don’t…please clue me in 😉
The least challenging objects to recolor to white would be anything that is basically already a solid color with medium to no texture. The more texture or colors there are the trickier things get.
Recolor Solid Paper White
In case you didn’t catch it earlier; I use PSE 2024. If you use a different version, some of my screen shots may look different from what you see on your screen.
I’m going to start by opening the simple textured solid yellow paper I used two weeks ago:
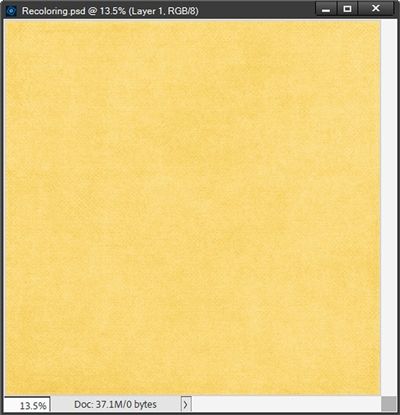
Note: If you’d like to follow along exactly, you can click here and this yellow paper will be automatically downloaded for you.
I duplicate the yellow paper and hide the original just so I don’t accidentally overwrite the original paper. I then need to simplify the duplicate yellow paper layer because it is a “Smart Object” and PSE will not let me edit a smart object which is exactly what I need to do.
Then I desaturate or remove all of the color from this paper by going to the top tool bar and selecting Enhance->Adjust Color->Remove Color (Shift+Ctrl+U):
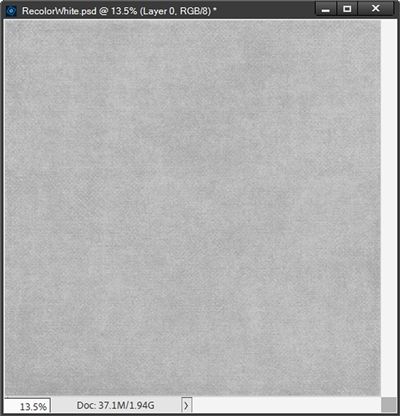
The texture of this paper is clearly visible even in this desaturated version.
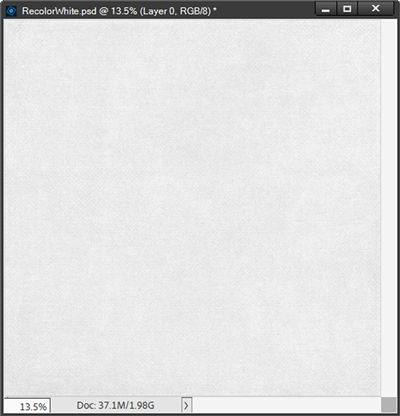
I duplicate this grey layer and change the Blend Mode to Screen. This resulted in a much lighter version (color #eaeaea):
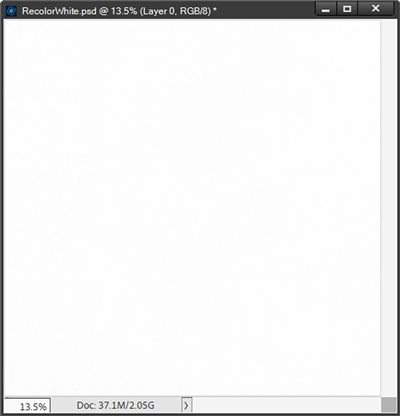
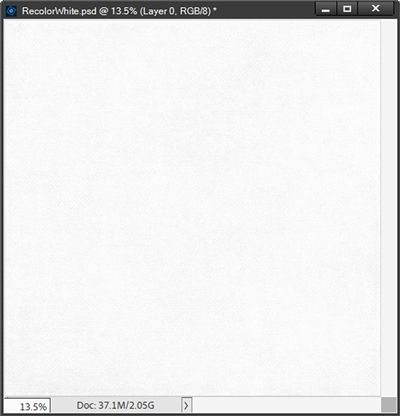
That’s not quite white enough so I’m going to duplicate that lighter layer two more times (now giving me four grey paper layers in the Layers Panel). And here’s a fairly white paper:
The problem is, I’ve lost most of the texture. But I can add a Levels Adjustment layer to get some of that back. And just as with the flower in last week’s “Recolor” post, I create a new Levels Adjustment Layer above the top grey paper layer.
In the Levels box I drag the upper grey (midtones) slider over to the right until I see the texture start to return. I ended up dragging it over until it hit about 0.25:
That brought the texture back very nicely. I don’t think I want to go any further with that adjustment. I can see the texture but the paper still looks fairly white. Such a simple trick to keep the texture and the detail so that it looks natural instead of being washed out or just a plain solid white.
Note: You can play with the levels as much as you like. If you feel like it’s starting to look too grey, you can move the slider back to the left a bit. Or you can always go to the Layers Panel and duplicate the paper layer directly below the Levels layer to see if that lightens it up enough. And you can try playing with the opacity of any added layer(s) if it starts to get too white again.
Earlier I mentioned that recoloring lighter colors to white is easier than when using darker colors. If I use a very dark red paper like this:
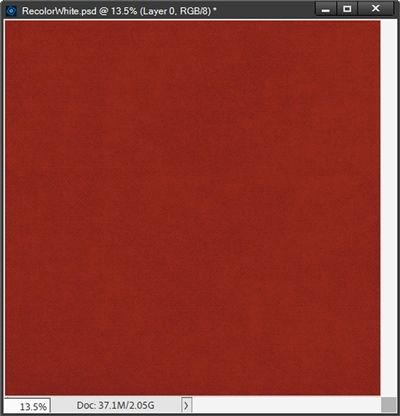
I can actually end up with a result that is nearly identical to the white paper above. But to get there I ended up with ten grey paper layers in my Layers Panel and my Levels Adjustment midtone slider was set to .50 vs. 25!
Recolor Simple Element White
The steps to recolor something like a solid color bow to white are basically the same as the solid paper. I’m going to start with a light blue colored bow:
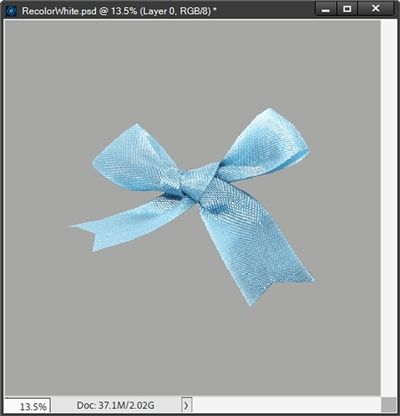
Note: If you’d like to follow along exactly, you can click here and this blue bow will be automatically downloaded for you.
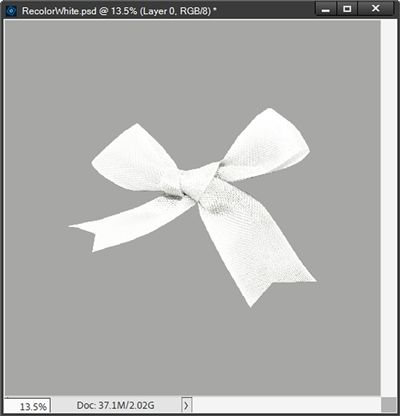
I placed a grey background behind my bow so it will be easier to see the white bow in the end. And just like the paper, I duplicated my bow, hid the original, desaturated the duplicate (now grey), duplicated the grey layer twice and set the Blend Mode to Screen on each of those two layers:
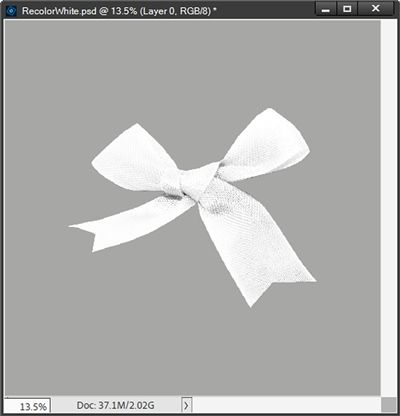
That turned out fairly nice and I can see the texture just fine. In this case, I see no need to add a Levels Adjustment layer. But I think this white tends to look too white…almost sterile if you know what I mean. When this happens, I add a light off-white (#f5f3e5) tint using a solid fill layer. I clip the solid fill layer to the top bow and set the Blend Mode of the fill layer to Color:
I know in these small images it’s nearly impossible to detect the subtle change. But it really does make a difference. To me it just seems like that slight tint keeps it from looking artificial.
Note: Any time you feel the need to bring out more texture simply add a Levels Adjustment Layer. It’s absolutely a personal preference on adding a tint. And as I’ve said about Levels settings, color settings for tints will vary from object to object.
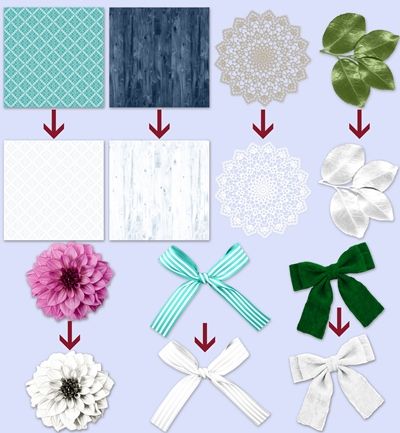
I could go on walking you through recoloring flowers and patterns to white but with all the tips I’ve already provided, I think you can play with things on your own. I will give you these examples for inspiration instead:
Over the last few weeks, I’ve shown you how powerful a solid fill layer, a blend mode and levels can be when trying to recolor objects. For almost all recoloring projects, the Color Blend Mode method will fit most needs. But sometimes, there are objects that just won’t work with this method.
As much as I’d love to keep talking about recoloring, you likely would enjoy a break (I know I would 😉) So, some time over the coming weeks/months I’ll give you more pointers about some “next best” options.
In the meantime, I’d encourage you to keep experimenting with the recoloring tools you’ve already learned. If you’re even slightly excited about playing with color…it can become addictive. And your stash will grow!
Final Tips

The trickiest part about recoloring something to white is making sure you don’t lose the detail. Be sure to use a Levels Adjustment Layer to help get that detail back. When doing this you will almost always only move the top grey slider.
Just remember that using the Levels sliders will almost always be different for every recoloring scenario. So, each time you recolor something new, you’ll likely need to move the sliders depending on the desired result.
When recoloring an object to white, keep in mind that the darker the original is the harder it will be to get a nice, natural looking white!
Once you’ve recolored an object to white check to make sure it doesn’t look unnaturally white (sterile). Sometimes an overly white object can benefit from a light altering tint. It doesn’t have to be too strong a tint, just enough to take the “glare” off the white.
Creative quote for this week: Creativity is magic. Don’t examine it too closely. – Edward Alber.
Thanks for reading this week’s Tuesday Tip. Remember, if you have any suggestions or questions please don’t hesitate to “Message Me“. Check back next week for tips on warping frames. Click “Follow Me” to stay in touch. I hope you have a wonderful week!
