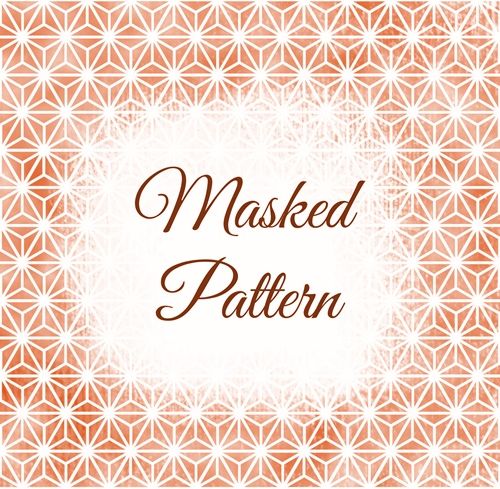
Masking Patterns
Sometimes using solid papers for a background can leave a layout feeling a little flat or unfinished. In my “Masks & Wands” post earlier this year, I showed you how to create a patterned edge overlay. Today, combining a pattern overlay, a Layer Mask and a texture brush, I’ll show you how easy it is to add some texture using that familiar Layer Mask trick.
As an added bonus, there’s no need to download or create a custom brush for this effect. Photoshop Elements (PSE) has a standard built-in brush found within the Faux Finish brush set that will work just fine. More on that in a minute.
This technique tends to work the best with a basic black pattern overlay (transparent background). But if you don’t have an overlay handy, just pick a paper with a clearly defined pattern having a sharp contrast with the background and no underlying texture. Simple, geometric black and white patterns are the easiest. And I’ll touch on that in just a bit.
Faux Finish Brush
They key to creating this pattern texture is picking the right brush. In my opinion, a brush from the Faux Finish category is the answer. At least as far as “standard” PSE brushes go. I have a ton of other texture brushes but today I wanted to use something that was part of the standard PSE brush offerings.
Within the PSE Faux Finish category of brushes there are several brushes that can work nicely to add texture; “Rolled Rag – Cotton”, “Rolled Rag – Terry”, “Sea Sponge” and “Stencil – Wet”. All of these “faux” brushes are considered texture brushes.
There is also a Wet Media category of brushes that might work. I tend to have better luck with the Faux Finish ones. But you are welcome to explore this other category if you’d like.
Note: If you have other preferred “texture” brushes in your arsenal, feel free to use any brush that suits your project.
Now, let’s build a background…
Create Base
Before I get started here’s a quick reminder, I use PSE 2024. If you use a different version, some of my screen shots may look different from what you see on your screen.
I’m going to use a very subtly textured solid background paper I created:

Note: I know you can’t really see the texture in this small image. That’s kind of the point of me keeping it subtle. I hardly ever make a completely flat background 😉 And you can use any solid color background that suits your project (textured or not).
If you want to follow along exactly, I’m going to show you how I created that paper above. Otherwise, your can just scroll past this step to the section about adding the pattern.
I’m going to start with a blank 12×12 file and fill the base (Layer 1 for me) with a light caramel color (#edc590).
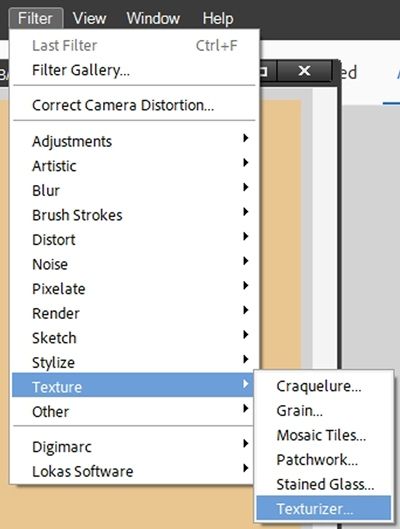
With Layer 1 active I go to the top tool bar and select Filter->Texture->Texturizer:
PSE opens the Texturizer options box. I immediately change the “preview” size down in the lower left corner to 100%. This lets me see how the texture looks at full-size.
I set the Texture to Canvas, the scaling to 80% the Relief to 2 and the Light to Top left. I leave the Invert box unchecked:
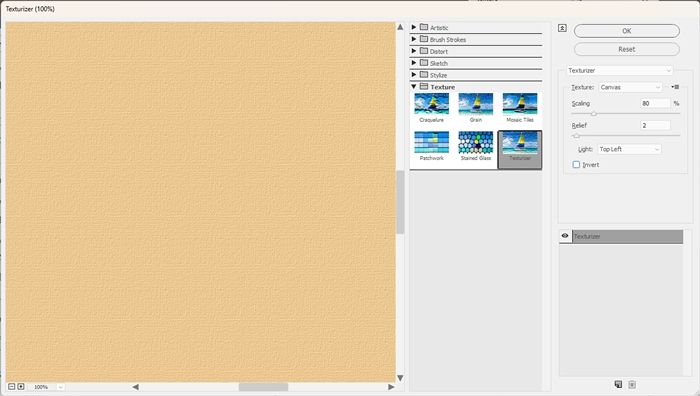
You may be able to see the subtle texture a little better in this image. I’m happy with how that looks so I click OK to confirm. I am going to save this file as a JPG and name it LightCaramelTexturedSolid.
Creating a lightly textured background is as simple as that.
Note: If you’re creating a background you can experiment with different Texturizer settings. Just keep in mind for purposes of this technique, the texture should be very subtle.
Now for the overlay…
Add Pattern
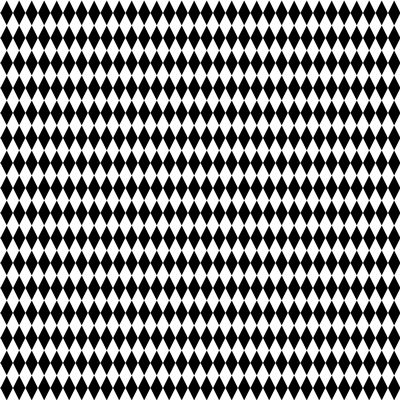
I have a really old black harlequin pattern overlay that I created based off a paper:
If you’re following along and would like to use that same overlay, just click here or on the image above and it will be immediately downloaded for you!
Note: If you have a different overlay you’d rather use, that’s fine. Just be certain it has a transparent background.
If you have a basic black and white pattern that you’d like to turn into an overlay, please refer back to my “Masks & Wands” post for pointers on how to do that.
But here’s a quick tip: If it is truly a high contrast black and white image, nine times out of ten it’s as simple as deleting the white using whichever method works best for you!
I pull that harlequin overlay into my file directly above Layer 1 and immediately simplify the layer:

Note: Remember, most any element or paper we pull into a PSE file will come in as a smart object (unless you have disabled smart objects in your PSE preferences). In order to perform any edits to that layer it must be “rasterized” – simplified!
I have a project in progress and I don’t want the resulting overlay to be black. So, I set my Foreground color chip to a medium olive color (#787f39). With the harlequin pattern overlay active, I press Shift+Alt+Backspace to fill the pattern layer with the Foreground Color:
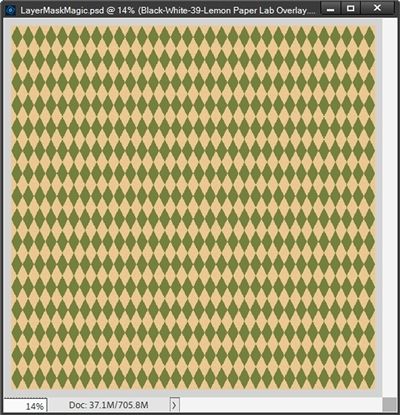
At this point I need to return my Foreground/Background color chips to the defaults (press D).
Add The Mask
With the Harlequin Pattern layer active in the Layers Panel, I press and hold the Alt key then click the Add Layer Mask icon in the Layers Panel.
PSE adds a Layer Mask to the Harlequin Overlay layer that is filled with black rather than white:
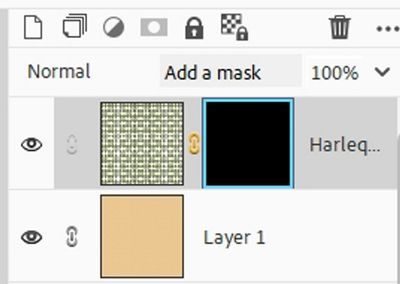
And now you can also see that the harlequin pattern has disappeared and only the caramel background remains:
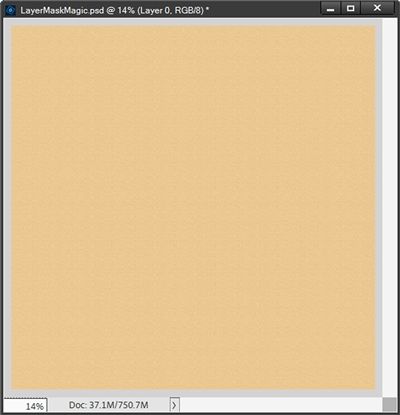
Don’t panic, this is exactly what was supposed to happen. I never wanted that entire harlequin pattern visible.
Now for a little Layer Mask magic…
Set The Brush
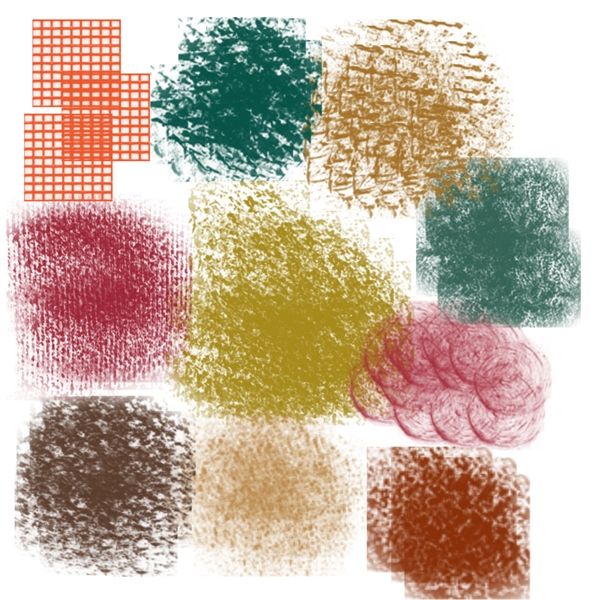
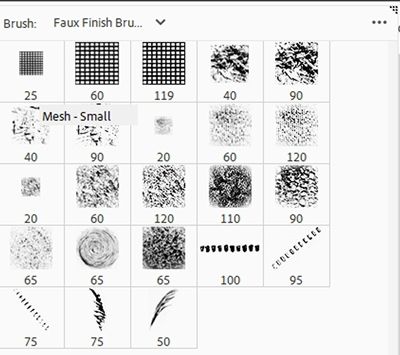
Note: The image above is a representation of various PSE Faux Finish brush options.
In order to brush some of the harlequin pattern back onto the caramel paper, I need the Foreground color chip to be white since the Layer Mask is black. PSE should have already made that happen.
If not, I just press X on the keyboard to switch the Foreground color chip to white. Remember when using a mask, white adds and black erases, regardless of the Layer Mask’s color!
Then I select the Brush Tool. In the tool options I open the Brush Picker, open the dropdown menu, and choose Faux Finish Brushes and select the Rolled Rag – Terry 120px brush:
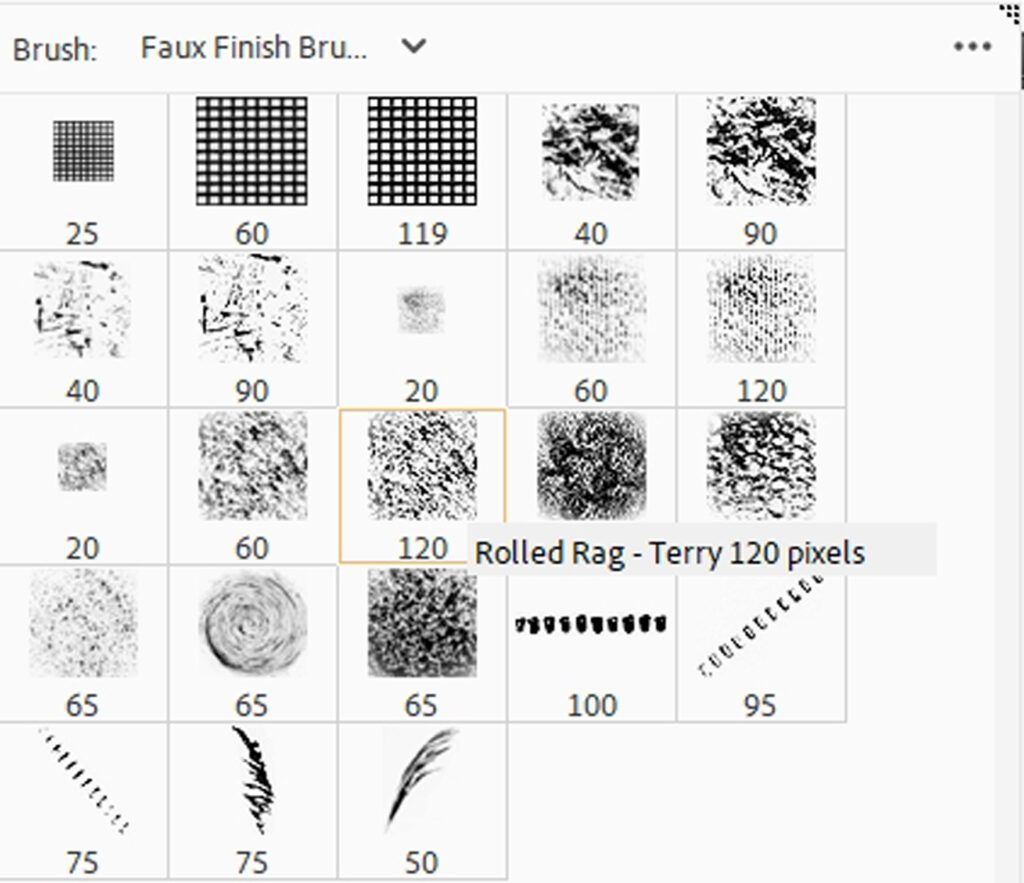
In the tool options I set the Size to 300 px, the Opacity to 50% and the Mode to Normal.
Note: If you’re following along you don’t have to use the same settings as I. You can certainly go with a larger brush or higher Opacity. Remember, if you use an Opacity of 100% the Opacity of the overlay layer itself can always be adjusted later if necessary.
I’m not going to do anything special with the options associated with the Brush Settings button. I generally use the PSE defaults.
Note: If you’ve never changed any of the values associated with the “Brush Settings” button, you’re all set. But just to be safe, click on Brush Settings and ensure the values read as follows: Fade at zero, Hue Jitter at zero, Scatter at zero, Spacing at 25%, Hardness at zero, and Roundness to 100%.
Next, I need to ensure that the Layer Mask for the harlequin layer is active (double-click on the layer mask). Then I just need to click and drag my cursor over the caramel until I have as much of the pattern revealed as I like:

I’m pleased with how this turned out. Though I will admit I made some adjustments going along. If I found an area where it looked like too much pattern was showing I just swapped my color chips and brushed over the parts I wanted to hide.
Note: If you’re following along you don’t have to do the same as I. It all depends on what kind of look you desire for your project.
And that’s my finished “solid” background enhanced with a little texture magic.
I am going to save this as a JPG file named “CaramelSolidOliveHarlequin”. But I’m also going to save this as a PSD file with a unique name (HarlequinPatternMasked) just in case I need to modify the overlay later.
And here’s my finished page using that enhanced paper:

Note: If you’d like more details about this layout, you can find it in my 2025 Gallery. The title of the layout is “Autumn Winds”.
One Last Thing
Before I let you go, near the very beginning of this post I mentioned that this technique tends to work the best with a basic black pattern overlay (transparent background). I still maintain that but it’s not 100% factual. And here’s why.
I can take any piece of patterned paper, then using the same Layer Mask and Brush steps from above, create another lovely “enhanced” solid. Let me show you.
I’ve pulled in a paper from “First Touch Of Autumn” by Mediterranka Design and layered it over my caramel solid:
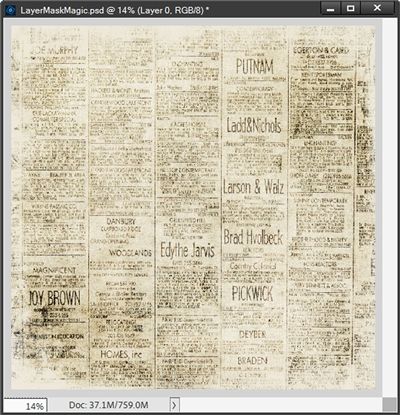
Using the same “black” Layer Mask and brush I used above, I can get this kind of look:
Shhh…don’t tell anyone! You think this might be how designers create their “blended” papers 😉 Just a little food for thought to end this session!
More Tips

The single biggest tip is that if you want to create your own “patterned” overlay with a transparent background using a piece of paper, please try to start with a simple, high contrast pattern.
I only showed you one type of Faux Finish brush. Experiment with others to see how it changes the look.
Play with different sizes for the brush. This is one case where bigger is sometimes better!
Experiment with the Opacity of the brush when masking. Try starting at 100% and then switch to a lower opacity to soften/lighten edges or other areas. Or try doing just the reverse of that!
Don’t be afraid to add the tiniest of a simple bevel (no more than 7-10px) to enhance your texture a bit more.
And as Jack London said: “You can’t just wait for inspiration, you have to go after it with a club!”
Thanks for reading this week’s Tuesday Tip. Remember, if you have any suggestions or questions please don’t hesitate to “Message Me“. Check back next week for tips about creating an anchor point. Click “Follow Me” to stay in touch. I hope you have a wonderful week!

