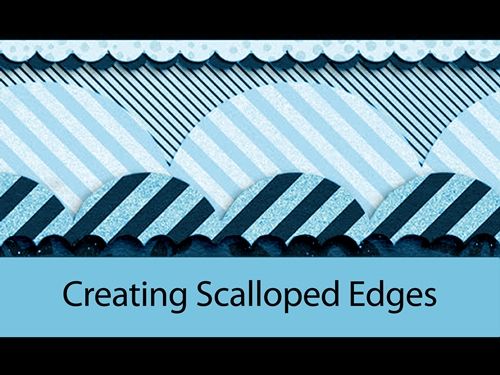
Scallop Border
Summertime, and the livin’ is easy…I wish! I for one, have a ton of projects underway at my house. And I know a lot of people are busy. I decided this was a great time to keep things simple. Sometimes I just need a certain kind of scallop border and none that I have seem “just right”. So, what’s a girl to do…I make a new one 😊
This super quick technique doesn’t require much more than knowing how to create a circle.
Many Circles
Before I get started, I use Photoshop Elements (PSE) 2024. If you use a different version, some of my screen shots may look different from what you see on your screen.
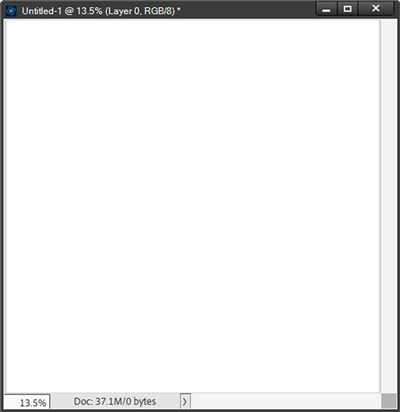
As tends to be a habit, I’m going to start by creating a new 12×12 file with a white background:
Next, I grab the Ellipse Tool:
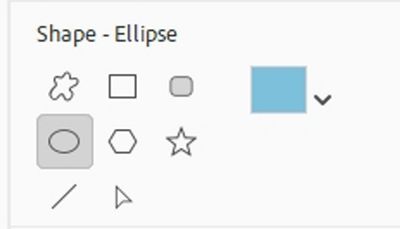
My Foreground Color chip is set to a light blue color (#78c3df), and that’s what color shows up in the Ellipse Tool. You can use whatever color you like.
Within the Ellipse tool options there’s a section (unlabeled) that is referred to as the geometry options:
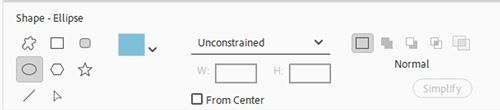
The options are:
- Unconstrained (default): This lets you drag freely and adjust both width and height to any dimension. Even when Unconstrained is active, it is possible to create a perfectly symmetrical shape (like a perfect square or circle) by holding down the Shift key while dragging.
- Circle: This lets you draw perfect circles without needing to manually hold down the Shift key
- Fixed Size: Draws an ellipse at the exact dimensions you specify in the Width and Height text boxes.
- Proportional: Constrains the ellipse to a specific aspect ratio based on the values you type into the Width and Height boxes.
Note: The geometry options may vary based on the version of PSE being used. Specifically, The Circle geometry option for the Ellipse tool was introduced in PSE 2.0 (released in August 2002). And “Defined Proportions” changed to “Proportional” in PSE 2021 (released October 2020).
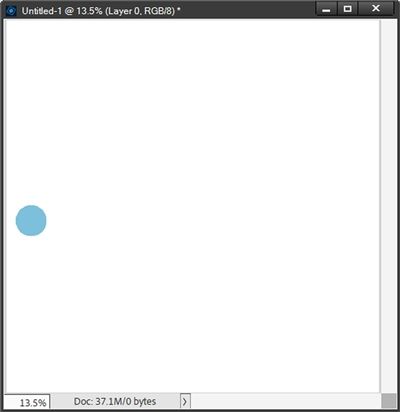
I’m going to use Fixed Size and set both the width (W) and height (H) to 1 inch. Then I click roughly centered on the file, near the left edge. PSE creates a perfect circle (Shape 1 for me):
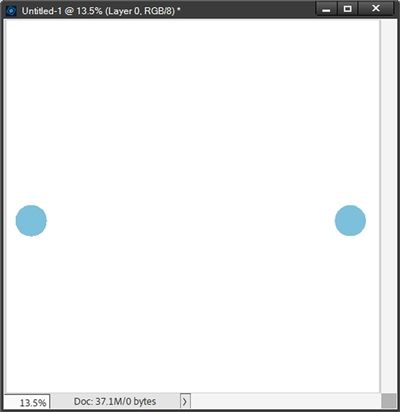
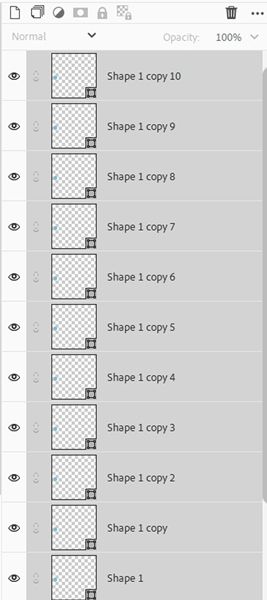
Shape 1 is the active layer. I press Ctrl-J ten (10) times. I now have a total of eleven (11) circles stacked one on top of the other. Shape 1 copy 10 is the active and top layer in the Layers Panel.
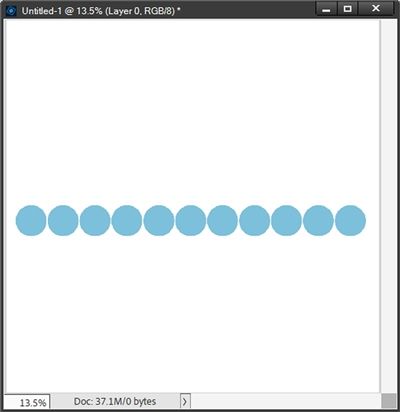
Holding down the Shift key, I use the Right-Arrow key to nudge that circle over to the right side of the file. I want to try keeping the distance between that circle and the right edge approximately the same as how the circle on the left looks:
Shape 1 copy 10 is still the active and top layer in the Layers Panel. Holding down the Shift key, I scroll all the way to the bottom of the Layers Panel and click somewhere in the name for the Shape 1 Layer to select all eleven (11) layers:
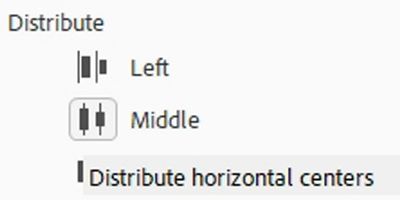
With all the layers active, I grab the Move tool and find the Distribute options:
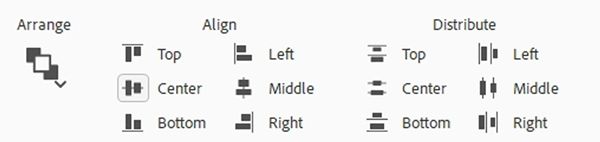
I then click on the icon in the Distribute section that is next to the word Middle:
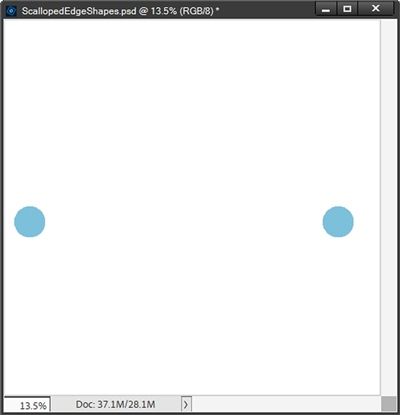
PSE then distributes the circles evenly across the file:
All the circles are perfectly aligned. But they aren’t touching. That’s easy enough to fix. I simply undo the distribution (Ctrl-Z). Shape 1 copy 10 is once again the only active layer.
Using Shift+Left-Arrow, I nudge the circle back to the left a bit (holding down the Shift key and pressing the Left Arrow key about twelve (12) times).
I know it doesn’t look like I moved it very much. But I’m fairly certain it’ll be enough. Let’s see if that helps…
Scallop Border – Circles
I then once again select all the circle layers in the Layers Panel and click Distribute – Middle:
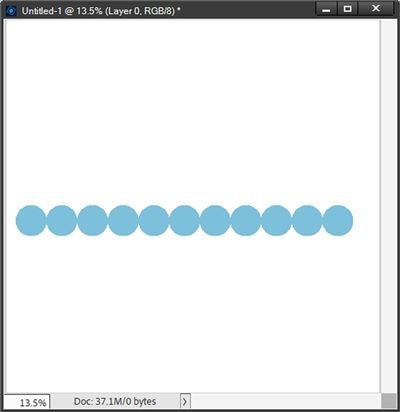
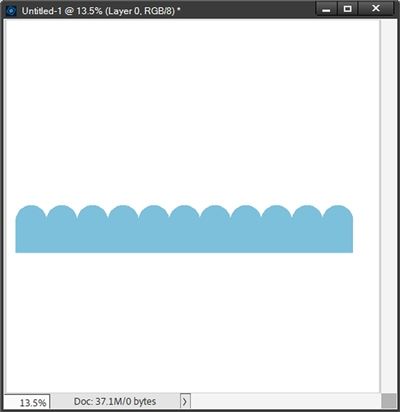
That’s better. If I want them to be touching even more, all I have to do is undo this alignment, move the right circle even more to the left and Distribute – Middle again until I’m happy with the scallop shape. Once I’m satisfied, I can merge the circle layers together leaving me with a single layer (still Shape 1 copy 10 for me).
Note: An alternative is to undo the alignment, add another circle (or more if necessary) and Distribute – Middle again until the gaps are closed to your liking.
To finish this, I just need to add a rectangular shape across the bottom of the circles. So, I grab the Rectangle shape tool and drag out a base to cover the bottom of those circles:
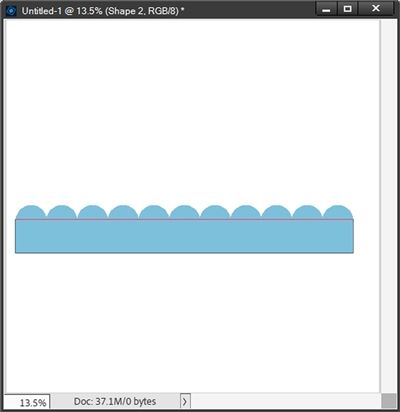
If I wasn’t sure, I could zoom in and adjust the size of the rectangle (Shape 2 for me) so it wasn’t any wider than the edges of the first and last circles. But I think that looks pretty good. So, I can now merge the circles with the rectangle for my finished scallop border:
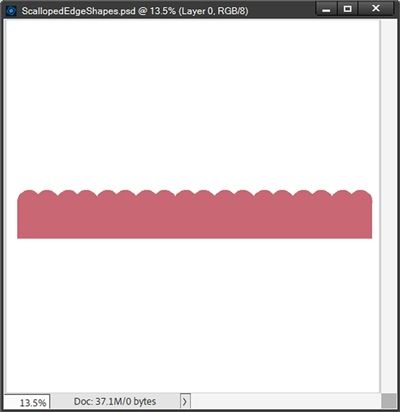
Scallop Border – Ovals
And I don’t have to use just circles. Here’s an example of a scallop border using an oval ellipse instead of a circle:

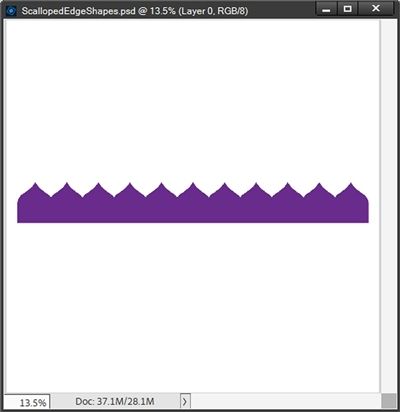
Using Other Shapes
I made this one using a Heart shape:
Here’s scallop border made with the Spade card shape:
I like that one a lot. It reminds me of “chocolate” kisses 😊
And this last one made with the Strawberry shape:
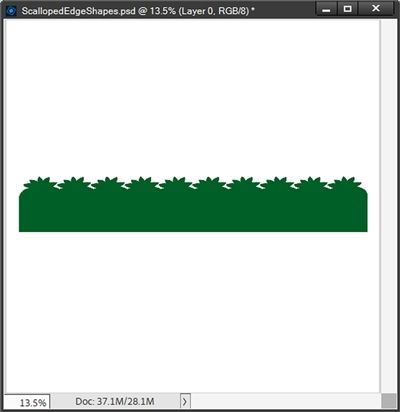
Oh, how fun would it be to use that as a grass border?!
All that’s left at this point is to crop the file to size, remove the white background and save the completed “scallop border” as a PNG file.
I hope you’ll have fun making some scallop borders of your own using circles or any other shapes you find interesting!
Simple Tips

If you’re feeling extra creative, you can try making your circles (or other shapes) with a brush instead of the Shape tools. Just be sure that you put the “painted” element on its own layer, not on the background layer. You can then duplicate that layer the same as you would duplicate the shape layer.
The more circles (or other shapes) you create initially will change how close together they are when distributing them. Using a larger sized shape will also affect the distribution.
The size of the rectangle you create is strictly your choice. It can be as tall or as short as you like. The objective is to cover the bottom of the circles (or other shapes) and line up nicely with the left and right edges.
Nothing says you have to add a rectangle to finish your scallop border. You can just as easily make a selection along the bottom half of the merged circles and delete the selected section. This might not work well when using some of the other shapes. But it is a viable alternative with circles.
Don’t limit yourself to whatever color you used to create the scallop edge. Clip a paper (solid, patterned, glitter, etc.,) to the border for a more finished look.

Originality is nothing but judicious imitation — Voltaire
Thanks for reading this week’s Tuesday Tip. Remember, if you have any suggestions or questions please don’t hesitate to “Message Me”. Check back next week for tips about creating wavy line paper. Click “Follow Me” to stay in touch. I hope you have a wonderful week!
