Tell Your Story
By now, perhaps you’ve spent some time experimenting with fonts. That means it’s time to really think about journaling. For many of us, journaling is one of the most difficult parts of putting a scrapbook page together, digital or traditional. Yet it sometimes is one of the most important parts of the layout. It lets others know why you made the page.
Coupled with your photos, or perhaps even with no photos, journaling allows you to tell meaningful stories. And just as there’s no right or wrong way to scrapbook, there’s not a right or wrong way to journal either. Not every photo or scrapbook page needs a full-length story written out. Details and thoughts can be conveyed creatively. Explore the following suggestions to get the juices flowing and add variety to your pages.
Step #12: Journaling vs. A Journal
When some people hear the word “journaling” they panic. They think we’re talking about keeping a journal (or diary). No one wants to put that on a scrapbook layout, right? Journals are typically private thoughts not meant to be shared openly.
That’s not to say that some people don’t keep their journals in a scrapbook like format. This is often referred to as “Art Journaling”. That’s not what I’m going to discuss in this post. You can certainly search for more information about that on the internet if you are interested.
I’m going to give you tips on adding journaling to a page. Simple information like thoughts, dates, location, etc. that might help convey more about the page. Two of the most common problems people have when journaling: what to say and where to put the words. I’m going to tackle both below…
What To Say
A lot of people struggle with journaling. I know I used to have a rough time. I was one who tended to include just the basics: Who? What? Where? When? Why? This is what I call the 5 Ws. Most often, I was satisfied to just capture date, place & name(s). I truly was not a good story teller in my early days of scrapping.
I am happy to report that this all changed several years ago. And now I have even been known to create a layout that is all story…no photos. But that doesn’t mean I don’t still hit a road block from time to time.
If the basics (5 Ws) is all you care to do that’s fine. But I will say this…that should be the minimum you ever include on any layout (at least those with photos). It is truly important to capture those little details. And why? I’ll explain…
I inherited a lot of old family photo albums when my parents passed. Not many of the photos include names let alone any dates. So, in most cases I have no idea of whom or when the photos were captured. And I certainly have little idea of “context” for the majority of the photos. I no longer have my parents around to ask for details so all of that information is lost. It’s just so sad to feel like I’m “left hanging”. The same thing can happen with our scrapbooks.
Trust me, I’m not saying you have to write a whole story on every layout but please do at least capture the basics so future generations aren’t also left hanging. But I would encourage you to consider a bit of storytelling so others also have some context.
How To Start

To get the story out of you and onto your scrapbook layout, just start writing or typing. There’s no better time than now to start. Or you can start with doodling on scrap paper! I’m not kidding. Somehow seeing something with ink on paper will get your writing juices flowing. Our brain has a way of wanting to fill up that piece of paper with more ink and perhaps words.
As long as you get your fingers moving, it’ll somehow activate your left-brain activity and your own words will start materializing. Seriously, just start by writing little descriptions on scrap paper or tapping away on the keyboard. Even if your initial writing might be a bit disjointed and may not make much sense, write away.
Your brain has a fantastic ability to mentally record much of the stuff you’ve come across. It’s just a matter of accessing those mental files. Simply put down what you’re able to quickly recall. Waiting for everything to pop into your head may keep you waiting for a long, long time and you might never even get started.
Just keep going through your thoughts. Your brain will start digging into those old files of memories and out of the blue, it may just locate the perfect story for your page.
There is one important thing to consider. You might want to think about the people who will read your journaling in the future. Perhaps they weren’t there with you, so they might be oblivious to the facts. Put down as many details as you possibly can. This will help paint a vivid story for them. Bring them along with you in reliving those memories of yours. Remember to write straight from your heart; share even the simplest of your stories.
What? Not even a single word or doodle yet? Here are some simple techniques that may help.
Writer’s Block
So, you’ve already captured the minimal details but you really would like to include some journaling. But sadly, the right words just seem to be frustratingly elusive. Now what?
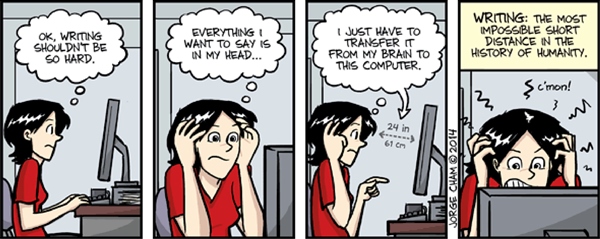
Here you sit, facing writer’s block, frozen in front of the computer screen or with a pen in hand. Wondering why the magical words to weave the perfect story aren’t just coming to you? While writer’s block is real, it needn’t be an insurmountable menace that can’t be overcome. Whether you’re worried about what you’re writing, trying too hard to be perfect, or just lose inspiration, rest assured, you’re normal. Trust me, this happens to just about all of us at one point or another.
Take a deep breath, close your eyes and just try to relax. Concentrate on remembering the moment your photos were taken. Try to put yourself back in that place & time and just breathe. And if there are no photos then just wrap yourself in the memory you’re trying to document. Don’t be too hard on yourself…just give yourself some time.
And if that doesn’t help, there needn’t be any reason to force yourself to write the story at this exact moment. Walk away if you need to distract yourself for a bit. If you want your brain to be full of energy and good ideas, you need to work on your body too, and getting some fresh air, moving around, whether it’s yoga, dance, boxing, or just going for a walk, can really clear your head, and help you gain a fresh perspective and point of view.
Sometimes you get writers block because you just can’t see beyond where you are. Changing your environment by heading to a coffee shop, a library, or even just another room in your house can provide a fresh perspective. My guess is that the less you wrestle with the writing, the easier the words will come. There’s a famous Malcom Forbes quote that seems appropriate here, “How to fail: Try too hard.” Now I’d ask that you try a little experiment with me… Try to pose for yourself this little task: Don’t think of a polar bear. The harder you try not to think about it, that polar bear will likely come to mind every minute. When we try not to think of something, one part of our brain does its job to block the banned thought, but another part sporadically “checks in” to make sure the thought isn’t around, which actually brings the thought to mind. This phenomenon, called “ironic process theory” explains why trying to forget (or distract your thinking) frequently makes people remember more. And I’ll apologize now if you find yourself thinking about polar bears the rest of the day 😊
Still Stuck?
Sometimes you just need to put down the pen and take a break from writing. However, you might recover from your block quicker by indulging in another creative outlet. Maybe try working on a completely different layout or some other project completed unrelated to scrapbooking.
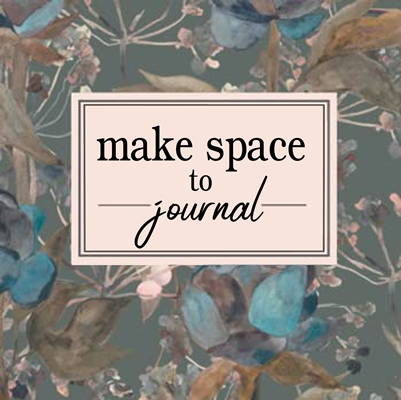
And you don’t have to keep struggling, feeling stuck simply because you can’t think of that perfect story right away. There’s likely no need to force yourself to complete your layout and your journaling all at once. You can always just allocate space for the journaling and move on to the next page. Then just go back at a later time and fill in the journaling once you have the “right” words.
And if you decide to just leave some space…a good guideline is to leave about half a photo space per page for journaling. That is of course unless you’re intending to do a full-blown story, otherwise, that should be sufficient space.
And who knows maybe while you’re doing another layout, or even something totally unrelated, inspiration strikes and the words are finally there!
Use Word Art
When making a scrapbook page (digital or traditional) about a special event, let’s say your daughter’s 3rd birthday, it’s pretty easy to follow the 5 Ws of journaling and even include a bit of a story.
However, not all layouts are that easy. When we want our page to convey something besides just facts, I’ve found that word art can often beautifully express just the right sentiment. Even better, it very likely can also inspire further journaling.
Here’s how word art can jump-start your journaling. Look at the photos on your page. How do the photos make you feel? Use those emotions to look through word art that may have come with the kit(s) you’ve used. Try to find a piece of word art that fits how you feel. You can now use that word art as your journaling. But I’d encourage you to not stop there. Use it as a springboard to tell a little bit more.

And here’s a handy resource for you. Word Art World is a great place to look for and maybe even purchase some great word art. You might be surprised at how inspirational it can be to just browse through all this lovely word art! Often times just browsing can stir up some great inspiration.
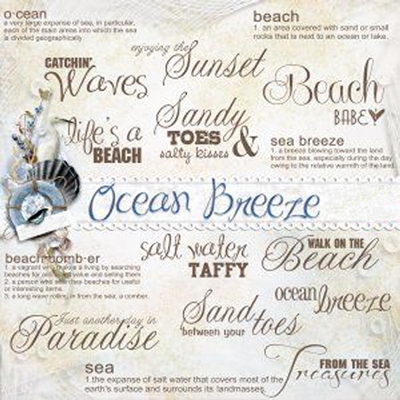
Poems, Quotes & Sayings
There may be times when you simply run of out words, your own written words. Period.
So, are you tempted to leave the journaling space blank? Not quite yet. There are other methods to fill up the journaling portion with words. Not your own words though, but other people’s words. As mentioned above, word art can help but there are other things.
You can use song lyrics (I do this a lot), quotes, poems or sayings on your layout and the right choice of words can help you express your sentiments in a great way. Take a look at the 5,000 Scrapbook Titles & Quotes e-Book; a great resource with titles and captions compiled specifically for scrapbookers. Something as simple as the right title or caption can work wonders.
And another easy way is to just search the internet for quotes and poems pertinent to your subject matter or theme. For example, you could do an internet search for quotes and poems about heartbreak. You’d be shocked at the results! Extra tip here: I usually go right to looking at images that come up for these searches. It tends to be a quicker read than clicking all the links that pop up.
Word Bits & Strips
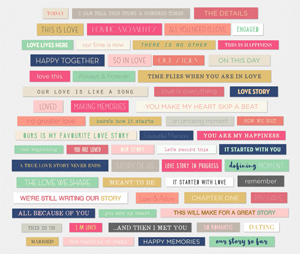
If your plan is to do just the basic 5 Ws, word bits/strips are a great choice for this information. And they’re a lot easier to place in random scattered spots. A lot of kits come ready-equipped with blank word strips for this very purpose. If not, you can always create your own word strip shape and clip a kit paper to it to make it more cohesive. Then just add your own words.
One of the best parts about creating your own word strips is that you can create a “strip” with an entire sentence (or two) and then break it apart into individual words. This way you can scatter the words however you wish. If you’re not sure how to do this, just watch for a future post about cutting elements into pieces.
And often you can find other word strips with messages that convey some other emotion or sentiment that’s appropriate to your layout. Take advantage of these little nuggets to make your journaling quick & easy! Little secret…you can also break apart any purchased word strip if you don’t need (or want to change) some of the words on it.
Something similar to word strips for journaling…photo overlays. There are (or used to be) a lot of these at various digital shops, typically in standard photo sizes. All you have to do is look for them. These overlays might not be great for specific details like dates & names but they’re great for expressing emotions & sentiments. I’ve been at this a while so, when necessary, I just make my own.
Bullet Journaling

You don’t have to flesh out a full story every time. If you want to keep things short and sweet and more to the point, use bullet points. Above is a set of templates by Scrapping With Liz that can give you an idea about how to approach bullet journaling.
Bullet points are easy to read, save you the headache of having to make smooth transitions from one sentence to the next, and highlight the most important information straight away. Be it dots, circles or brads, bullet points can make strong, eye-catching statements on your page.
Include Your Own Handwriting
One thing that adds a special, more personal touch to your scrapbook page (traditional or digital) is including your own handwriting. And I seriously mean taking a pen in hand and writing. I can already hear what you’re thinking…you hate your handwriting. That’s okay, as do I. But my family has repeatedly told me that they want to see it captured. As I’m sure many others in your family may feel the same!
If you’re not already doing this in your digital layouts and aren’t sure how to do it, next week’s tip will be all about how to accomplish this. Putting all of that here would make this even longer than it is already.
Where To Put The Words
So now you may have at the very least selected some word art as your journaling inspiration. If you’ve decided to actually place the word art on your page, where should you place it? Sometimes the best approach is to use the word art as the “title” for your page. Title placement, as with most other things in scrapbooking, is a very subjective process. Pick a spot that you like and run with it.
If you’ve been inspired to include a bit more than just the word art/title the easy answer to “where does this go?” is simple…find a good open area on your page where you can include a journaling box. Just use your text tool, draw the size box that fits and type away. You can then adjust the font size & color to match (or contrast with) your page. Try to pick a font that is easy to read. As I mentioned in prior posts…some fonts just aren’t good for journaling. Try to stick with a basic font so people can easily read what you’ve written.
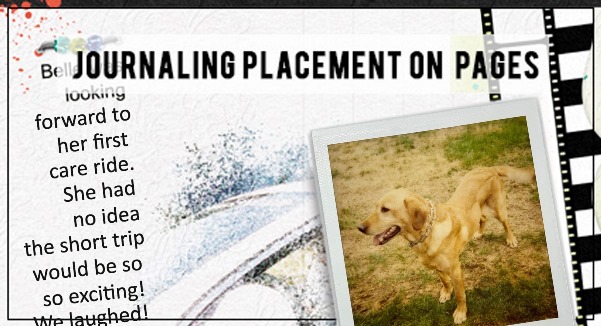
And if you can’t find one single spot that will work for all that you’d like to say (without making it so tiny it’s virtually illegible), don’t be afraid to break your journaling up into separate sections scattered around your page. The words can then become part of the overall design of the page, let them flow together with the photos and the other elements of the layout.
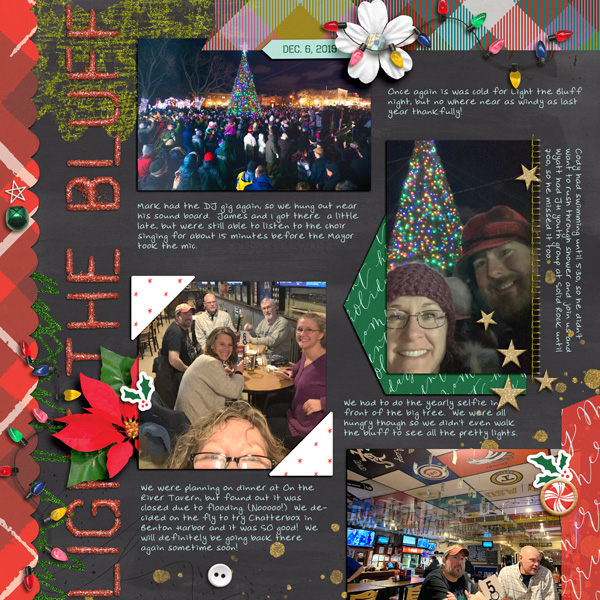
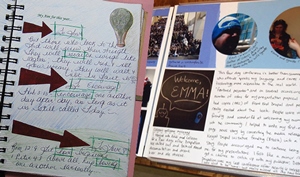
Breaking up the journaling on the page, can gave the reader a little visual break. Perhaps even a chance to contemplate what they just read before moving on…or a breaking point to examine the photos after reading part of the story. Or simply to admire the other aspects of the page. It also allows the eye to flow around the page rather than concentrating on one big block of text. The layout above is an example of how to do this. It was created using Artsy Journal Templates 25 by Scrapping with Liz (now retired).
No Good Open Spot?
Frequently I find myself looking at a layout I’m thrilled with only to find there’s not a great spot to easily add text and still have it show up nicely. What do I do? I make a space.
There are lots of ways you can do this. Again, most kits come with a journal cards/mats for this purpose. But you can always create your own just like I mentioned under “Word Strips” above. This would be just like what we do on paper layouts. And don’t forget about vellum! This is another way to create a space that lets your background shine through a bit.
But with a digital layout we’re not limited to using paper. We can use masks & brushes to strategically soften or re-color a good area so that the background will not be completely hidden but the text shows up nicely
An alternative would also be to add an “outer glow” to your journaling text. I do this quite frequently on “artsy” layouts that just don’t have a “bare” spot for text. It works great and you can easily control the color, opacity and size without sacrificing a large swath of your background. Sometimes a subtle shadow (generally discouraged in journaling) will make a difference. You just need to be really careful with this so it doesn’t make it look like your text is actually lifted off the page. Unless of course, you want it to look that way…that’s your prerogative 😉
Single Most Important Tip About Journaling
Proofread…proofread…proofread………….I can’t emphasize this enough!
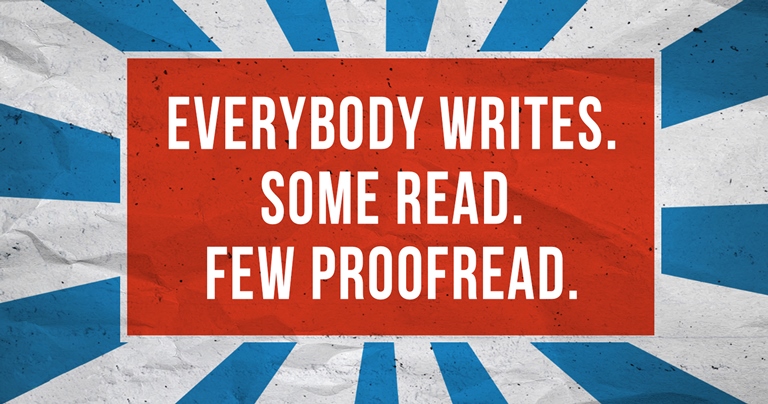
Why is proofreading so important? As a former “professional” proofreader, I’m here to tell you that proofreading is essential. Mistakes in our journaling can detract from our story. Simple typos, spelling mistakes, or other unfortunate grammatical errors could ruin a beautifully-made scrapbook page, especially if you like adding handwritten journaling to your page. Even if it is typewritten, you still need to proofread your work and ensure it is error-free. And don’t fall victim to relying on spelling & grammar checking functions inherent within your software. They are not foolproof. Let me say that again…THEY ARE NOT FOOLPROOF!!! And Photoshop Elements has neither.
And it may come as a surprise to you but I also recommend that whenever possible you have a second person proofread your writing. It is almost impossible for everyone to catch every single one of their own mistakes. If you can’t elicit help, try stepping away from your work for at least one hour or so and then give it another read. I recently posted a digital layout in a challenge thread and one of my forum buddies messaged me about a typo. I was so frustrated & a bit embarrassed because I try so hard to avoid mistakes.
If you’re “stuck” remember this, inspiration could hit you anywhere, anytime, so make sure you can write down these ideas wherever/whenever. Keep a notepad handy, even carry one with you when you’re out & about. It doesn’t have to be huge, just a little notepad to jot down reminders. I’ve been known to keep one on my bedside table for this very reason. Nothing like having the “crucial thought” pop in your head at 3:00 AM.
Thanks for stopping by the blog for this edition of my Tuesday Tip series. If you like what you’ve been reading click “Follow Me” to stay updated for more…