Filters On Elements!
I took a bit of a break from all the filter talk in last week’s post. I hope you had some fun playing with the Pop Art effect. I only used one Photoshop Elements (PSE) filter last week…an Adjustment filter. This week I’m going back to some of the same concepts I used last month with paper. Only today I’m going to be showing you how to use filters on elements.
Back in April I posted about Blending Elements and showed you some pretty nice effects. Today I’m going to show you what the Filters available in PSE can do to manipulate elements such as flowers, transfers & word art.
Generally speaking, not all categories of Filters will work well with elements. As with paper, the ones I’ve used most often fall in the Artistic & Sketch categories. But the suitable options will tend to be more limited.
In that blending post from April I used some elements from “Friends For Life” by Just Because Studio & LorieM Designs. Today I’ll be using some elements from “Friends For Life”, along with some elements from “Head In The Clouds” by Just Because Studio and some from “Head In The Clouds” by TirAmisu.
Because I explained how things look when accessing filters in a lot of detail in the post about Artistic Filters, I’m going to keep things simple again this week. I won’t be showing you a lot of images regarding how the Filter settings boxes appear. If you didn’t catch that earlier post…you may want to refer back to it if you’re not sure about something I mention today.
More Fun With Filters
Just a quick reminder before I get started…I use the current version of PSE – 2024. So, everything I show you was accomplished using that software. Some of my screen shots may look different than what you see on your screen depending on the version you are using.
Artistic Filters
I’m going to start with the Artistic category of filters. I’ll be using this flower from “Head In The Clouds” by Just Because Studio (link at the top of this post):
As much fun as I had with PSE’s Artistic filters on paper…that category of filters doesn’t give me as many options when it comes to working with elements like flowers. I worked mostly with the following filters; Colored Pencil, Neon Glow, Palette Knife, Plastic Wrap & Poster Edges. There are a few others that might work with different types of elements. But here’s what worked fairly well on that flower:
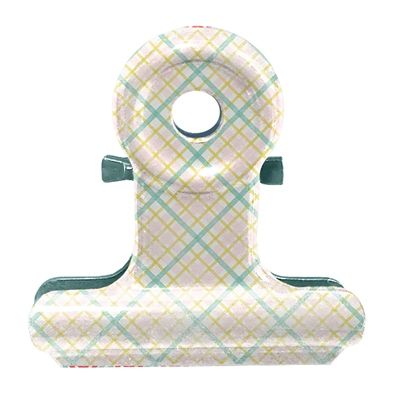
Next, I’m going to try something other than a flower. This time I’m using a “bull nose” clip from “Friends For Life” by Just Because Studio & LorieM Designs (link at the top of this post):
I looked at a lot of the Artistic filters but only a few worked well on that clip; Fresco, Neon Glow, & Poster Edges. There could a few others but here’s what worked best (in my opinion):
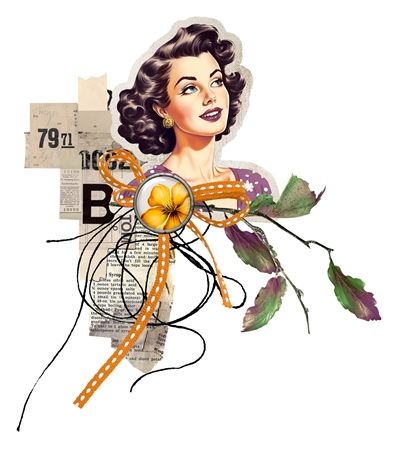
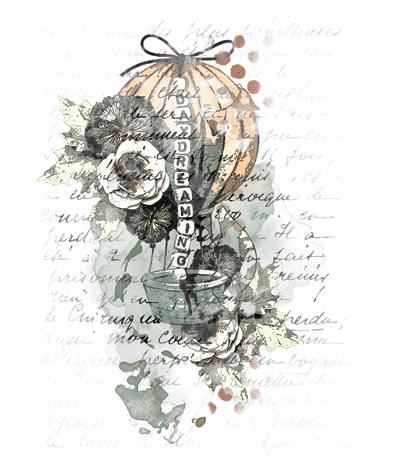
Let’s see what happens if I use a cluster with multiple elements in it. Here’s a lovely one from “Head In The Clouds” by TirAmisu (link at the top of this post):
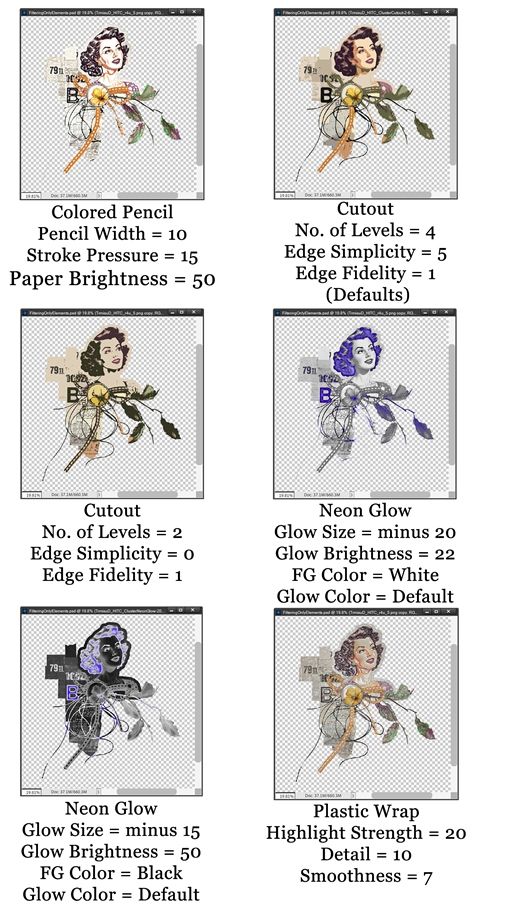
Well, this cluster worked out better than the clip for sure. I ended up using the following filters; Colored Pencil, Cutout, Neon Glow, & Plastic Wrap. Here’s how those turned out:
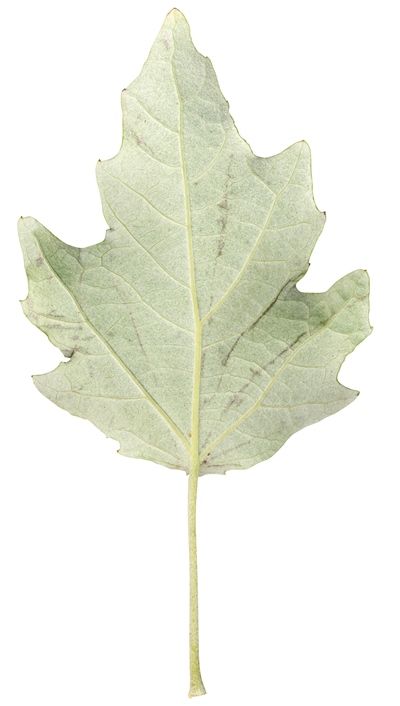
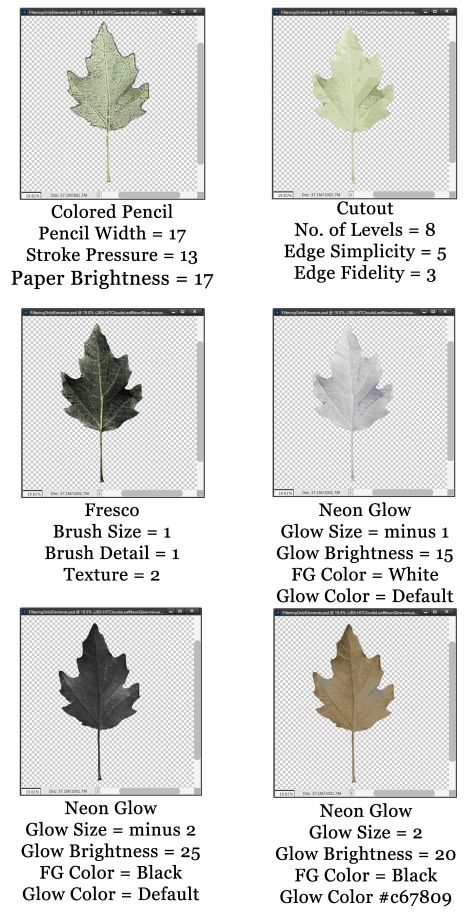
Now, let’s take a look at what happens with this leaf from “Head In The Clouds” by Just Because Studio (link at the top of this post):
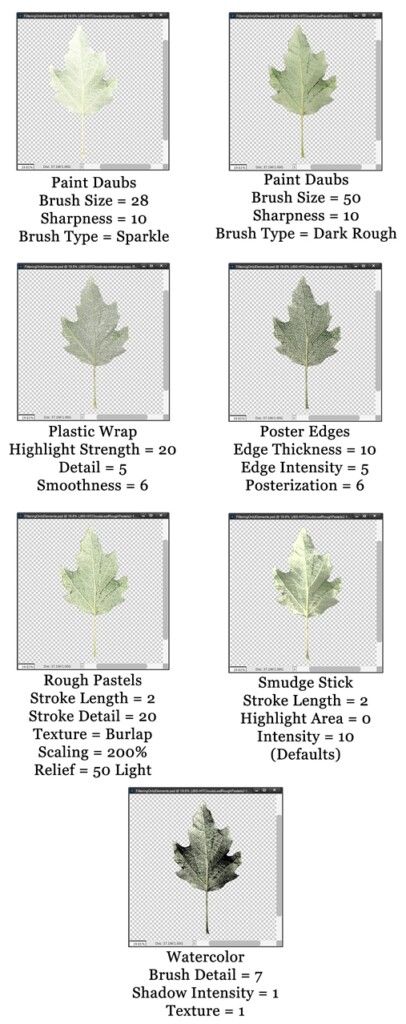
Well, this was a lot of fun. I ended up using the following filters; Colored Pencil, Cutout, Fresco, Neon Glow, Paint Daubs, Plastic Wrap, Poster Edges, Rough Pastels Smudge Stick & Watercolor. Here’s how those turned out:
Look at that…13 different leaves all from that one original leaf. Talk about beefing up your stash without spending a dime!! Just image what else you can do now that you know how to manipulate elements using filters.
Other Filters
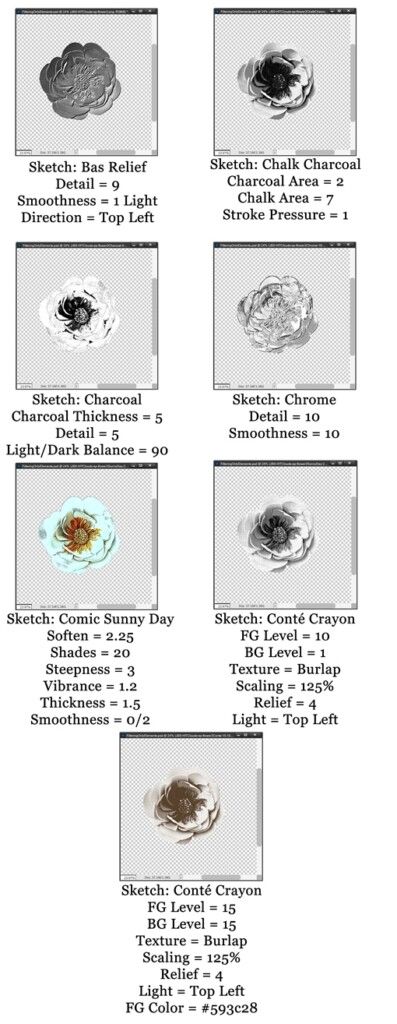
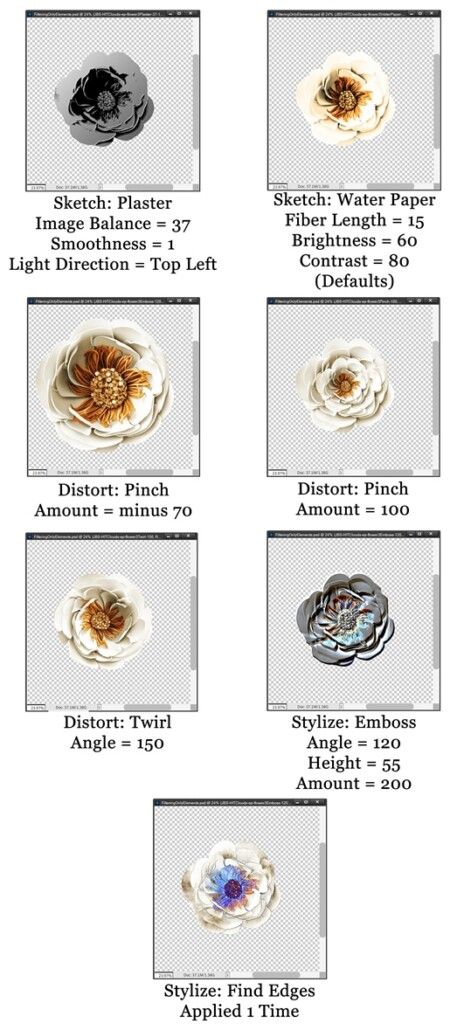
Now I’m going to show you just a few options with the filters from a few other categories. I used the same flower I used above. Unless otherwise specified the foreground/background color chips were set to the default:
I only showed examples using the flower because most results using the same filter/settings were the same on both the leaf and cluster that I used above. There were 2 exceptions; the Distort-Pinch filter did not work well on either the leaf or the cluster & the Distort-Twirl filter did not work on the cluster.
Filters On Word Art
I know I mentioned word art earlier. This can be a little tricky depending on the type of word art on which you want to try using the filter. Generally speaking, I wouldn’t bother trying filters on most words strips or word art that is all black. That doesn’t mean you can’t try…I just haven’t had much luck with most filters on either of those.
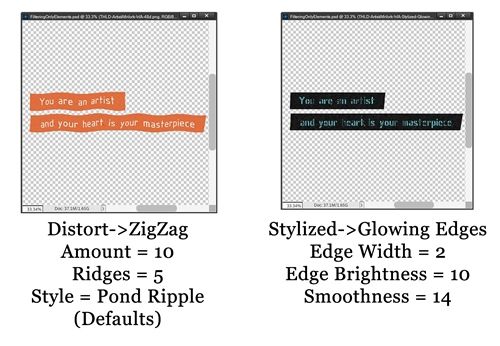
Now that I’ve said that, both solid black word art & most word strips can sometimes work out okay. Here’s one example. I’ll use this set of word strips from “Artist At Work” by Thaliris Designs:
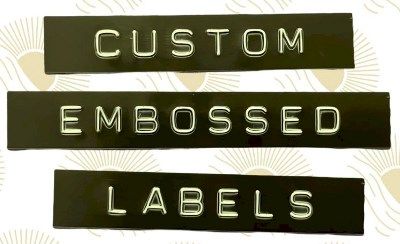
I scrolled through all the Artistic filters hoping to find some interesting effects. I had expected that the Artistic Plastic Wrap filter might make it look like a DYMO (3D embossed) label tape like this:
That ended up being a disappointing attempt. Not quite what I’d hoped for. It may work better on larger groups of word art but I don’t have high expectations. So, I moved on to the Sketch Filters. This too yielded nothing that was very attractive. There were really only two filters that did provided interesting results (at least for me) and here they are:
Just because I didn’t have much luck doesn’t mean you shouldn’t see what you can come up with using word strips that you may have on hand.
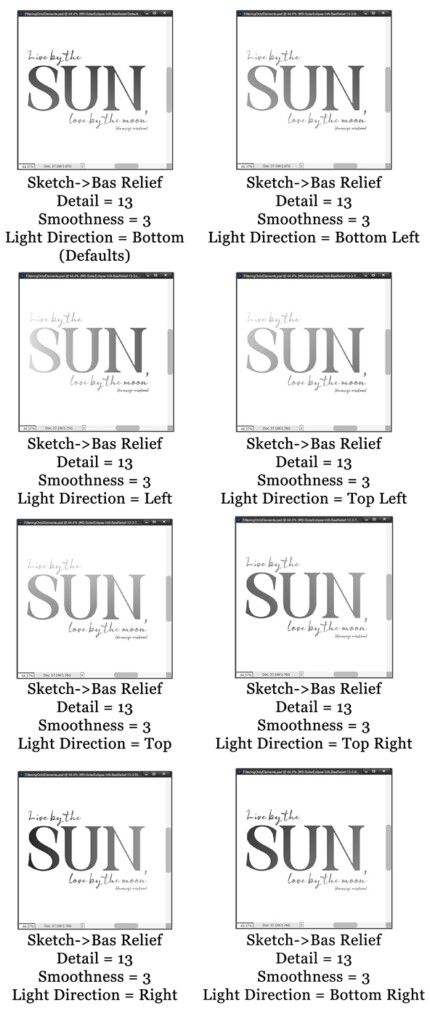
As for solid black word art there was one filter that provided a nice result. I used this piece of word art from “Solar Eclipse” by Manu Scraps:
With a solid black word art, the filter that worked the best was Sketch->Bas Relief:
This filter gives the word art a gradient look. Changing any settings other than the Light Direction didn’t seem to make a noticeable difference. It may be hard to really appreciate the gradient effect on these small images but it is nice. Unfortunately, trying to use this, or any other filter in the Sketch category on a piece of colored word art will only result in a grayscale image similar to what you see above.
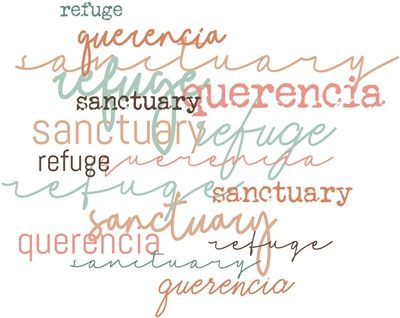
Most other filters will not work well on any “fine” word art such as this one from “Querencia” (now retired):
As with the black word art, any filter in the Sketch category will result in a grayscale version of this or any other colored word art. That doesn’t mean you can’t try to use them. The Sketch->Plaster filter generally tends to produce a nice “embossed” look but it will be grayscale.
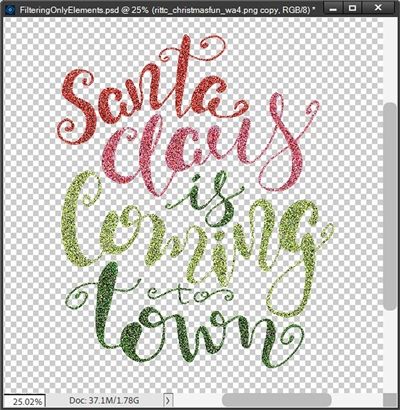
The Pixelate category of filters will work on most any word art but the effect will primarily be just that…some form of pixelization. I have found this category can produce some fun results when working with “bigger” colored word art such as this piece from “Christmas Fun” by Cindy Ritter Designs & Just Because Studio:
Both the Mezzotint & Pointillize Filter will tend to give this kind of word art an almost “glittery” effect such as this:
You can certainly experiment with various word art pieces in the Artistic category. In my experience good results are rather hit or miss if you know what I mean. But don’t be afraid to try.
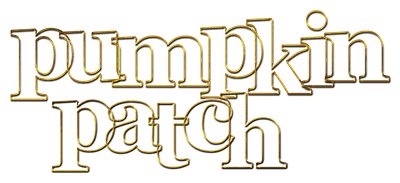
A while back I did a post about Outlining Text. If you read that post the piece of word art below might look a tad bit familiar:
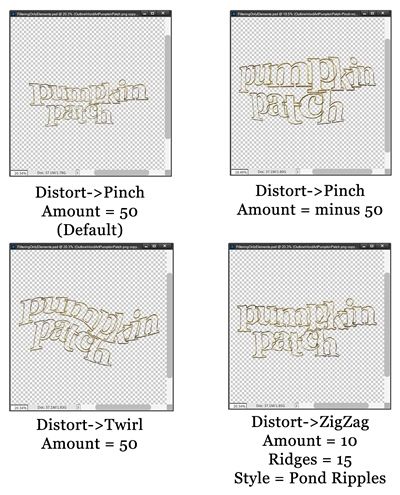
In that prior post it was just the word pumpkin. In any case I wanted you to know that outline word art such as this can generate some fun results when using filters in the Distort category:
Try your hand at using filters on word art and let me know if you come up with some interesting results.
Layering Multiple Filters
I know at the top of this post I mentioned that a lot of the PSE filters will work on all manner of elements including stamps/transfers. I purposely saved transfers for the very end because I also want to show you how layering filters works and it’s easier to do that by itself and it works great with transfers.
It is possible to apply more than one filter to a given element/paper. I can do this using the Filters option in the Layers Panel. But, in a lot of cases I’ve found that I get different, sometimes better, results if I use the Filter Gallery instead.
To open the Filter Gallery, I just go to the top tool bar & select Filter>Filter Gallery. PSE then opens the Filter Gallery window:
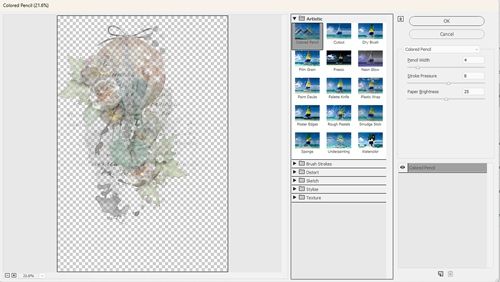
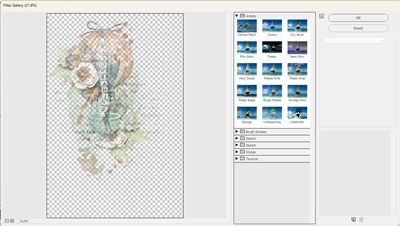
The Gallery opens showing the last Filter I used (Artistic – Colored Pencil). If I had never used a Filter previously the default Filter Gallery window would look like this:
Either way, if the window opens on a Filter other than the one I want to use, all I have to do is click on the Filter category/option I do want. In the example shown at the top of this section, I applied 3 Filters to the transfer – all from the Artistic Section of the Filter Gallery so selecting that category (if necessary) will be the first step.
Note: Any time you want to return the Filter Gallery to the default, with the Gallery open press the Ctrl key and then click Default. This resets the Filter Gallery to its factory settings.
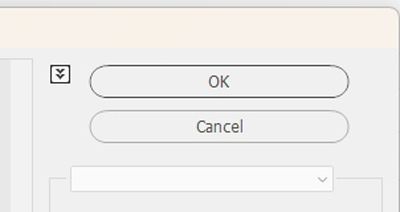
The Filter Gallery shows thumbnails of each filter and what it will look like when applied to your image. If you don’t see thumbnails when you open a Filter Category just click the double down arrow icon to the left of the OK button:
PSE will then display the thumbnails. With the Artistic category selected the thumbnails should look something like this:
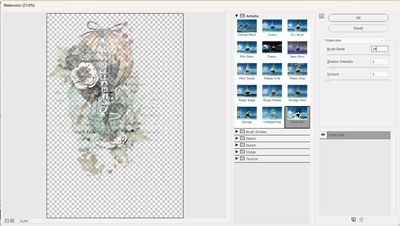
The first filter I will apply is the Watercolor Filter. I set the Brush Detail to 14. I leave the Shadow Intensity & Texture both at the default of 1. If you’re following along using a transfer of your own, you can use the sliders provided to change the settings to get the look you prefer. This is how my transfer looks now:
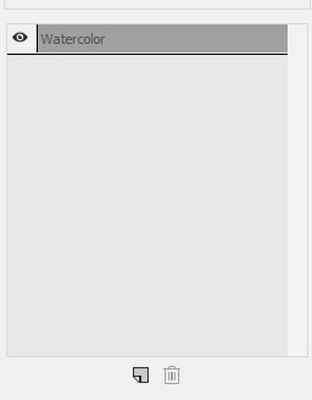
You can now also see the Watercolor color filter showing up on an “effect” layer off to the right side of the Gallery window:
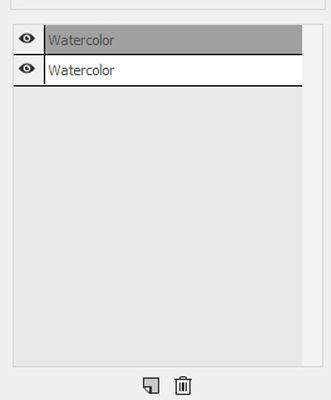
In order to apply my next filter, I now have to click the “New Effect Layer” icon below that effect layers area (it’s the one that looks like a blank sheet of paper with the lower left corner turned up). When I click on that I see that a new layer is created in the panel above and it is a copy of the previous Filter (Watercolor):
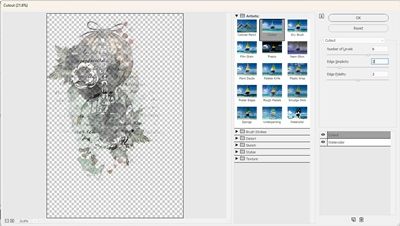
Now I click on the next Artistic Filter I want to apply, Cutout. I set the Number of Levels to 6 & the Edge Simplicity to 2. I leave Edge Fidelity at the default of 2. Again, you can use the sliders to tweak the Filter as you like. This is how my transfer looks now:
And you should be able to see that the new Effect Layer that I added now reflects the second Filter name of Cutout.
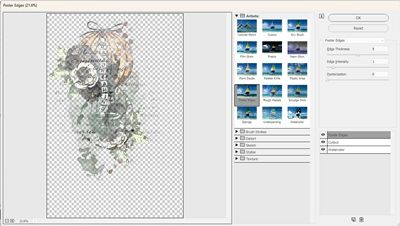
I once again click the New Effect Layer icon so I can add another Filter. With that new Effect Layer in place, I click on the last Artistic Filter I want to apply, Poster Edges. I set the Edge Thickness to 5. I leave the Edge Intensity at the default of 1 & set the Posterization to 0 (zero). You can adjust the settings as you like. This is how my transfer looks now:
Now I click OK to commit the filters and return to the main workspace in PSE. At this point you should notice the Filter Effects Indicator icon (it looks like overlapping circles) on the transfer’s layer:
If I should decide that I’m not happy with the effects on the transfer all I have to do is Right-Click on that icon and select Clear Smart Filters. This will set my transfer back to its original state.
Or, with that transfer layer active, I can go to the top menu bar & select Filter->Filter Gallery & PSE will re-open the Filter Gallery for this layer. I can then go in and easily modify the settings (or order) of the different filters. This is something I can’t do when applying filters via the Filters option within the Layers Panel.
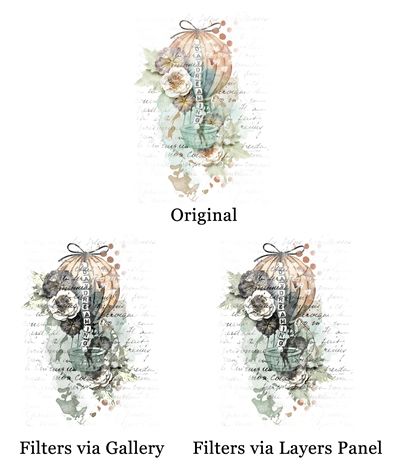
Above I mentioned that it is possible (at least in my version of PSE) to apply multiple Filters using the Filters option in the Layers panel. But I cautioned that the results could be different. So, going back to the original (non-filtered transfer) I tried adding the same filters/settings from the Layers Panel. It did look different to me. The variations are very subtle but nonetheless different. Here are the original transfer and both Filtering options so you can see all three versions:
I know it’s very difficult to discern the differences on these small images but they are noticeable in full-size, I’d encourage you to try this multi-filter technique both ways. Then you can be the judge of whether it’s worth it to use the Filter Gallery process vs. just adding Filters via the Layers panel. And remember filters & filter combinations will behave differently depending on the element you’re using. It never hurts to try using both methods to see which works best in each instance.
More Tips On Filters
As usual…I’ve barely skimmed the surface of what all you can come up with using different elements and filters.
When working in the Filters Gallery try dragging a filter name to a new position in the list of applied filters at the bottom of the dialog box. This can have an affect on how the filters work together.
Remember, you can apply filters to only a selected portion of your element. This would come in handy when working with filters on some word art images.
Take your time when experimenting with filters. If you’re a beginner, the best approach may be to use filters via the Filter Gallery. This will let you keep better track of the filter effects you’ve applied.
Never be afraid to try a filter…there’s always the “undo” button!
Above all else just have fun with filters!
As always, if you have any questions or want to make a suggestion about a topic you’d like me to cover, please don’t ever hesitate to “Message Me”.
Thanks for reading this week’s Tuesday Tip. Be sure to check back next week for tips on creating Gesso textures. If you want to stay informed about new posts, just click “Follow Me” to stay in touch. I hope you have a wonderful week!


