
Creating Blended Paper
I’m sure you know what I mean by blended paper. They’re everywhere these days. And I love using them. But you know what I love even more? I love creating unique blended papers using what I already have. Digital scrapbooking lets me reuse my stash over & over. Read on to learn more about recycling some paper by blending!
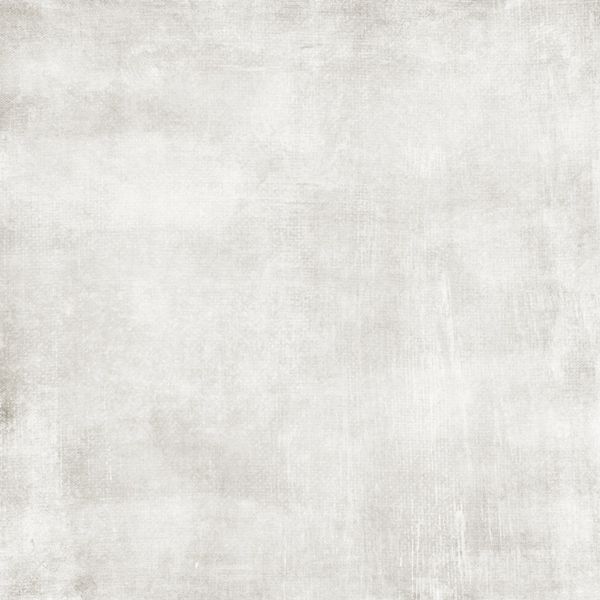
Note: Featured image above was created using two papers & a “page clip” mask from “Metamorphosis” by The Urban Fairy.
Blending Papers
I love textures and patterns! Even on a solid paper, I prefer for it to have a texture. Textures add a fabulous depth and richness to our pages. Sometimes with a solid paper, I like to liven it up by blending it with a “patterned” or artsy painted paper. Creating blended papers is a less daunting task than you may imagine.
Let’s take a look…
Before I get started, please remember that I use Photoshop Elements (PSE) so everything that follows is done using that software. I’m fairly certain you can accomplish all of this in most any graphics editing software. Just look for any tips you might need specific to your chosen software.
The featured image at the top of this post was created very quickly using 2 papers and a “full-page” (3600×3600) clipping mask:

All I had to do was open the base paper (green one) in PSE, layer the clipping mask over that and then clip the other paper (tan) to the mask.
But there are so many other ways to create blended papers. I’m going to give you a few different tips to achieve different looks using papers, masks & photos.
One of my favorite ways to create blended paper is to use a lovely scenic photo such as this:

I want to blend this with a wood paper from the “Modern Farm House Mini” by The Curio Pantry (Jessica Dunn):

Blending Tip #1
My first blending tip for this photo/paper combo is to just use the blending mode in the layers panel. So, I open the wood paper in PSE, pull my photo in, re-size/re-position it to cover the entire paper and change the blend mode to overlay:

I was pretty happy with this but I played with the photo layer’s opacity a bit to see about making the wood a bit more visible. Using an opacity of 80% I was much happier with this result:

It’s a somewhat subtle change but I do like it better. And easy peasy…no masking just changing the blend mode and I have a lovely blended Autumn themed paper.
Blending Tip #2
My next blending tip for this photo/paper combo is to use the same “full-page” clipping mask I used on the featured image at the top of this post:

I just layer the clipping mask below the photo layer. I then reset the blending mode of the photo to normal and the opacity of the photo to 100% before clipping the photo to the mask. Here is the result:

And I have another lovely blended Autumn themed paper.
But what if you don’t have a full-page clipping mask? Or maybe you want the photo to be more visible in the center than around the edges as in the image above.
Blending Tip #3
My next blending tip for this photo/paper combo is to use a different clipping mask. This one is from “Wind Of Freedom Photo Masks” (without the frame – now retired) by PrelestnayaP Design :

After removing the full-page mask, I just layer this clipping mask above the photo layer. I re-size/re-position the mask to cover the portion of the photo I want to retain. I then move the mask below the photo and clip the photo to the mask. As with the blend mode option above, I did play with opacity to allow more wood to show through. I ended up using 80% opacity on the mask layer. Here is the result:

Yet another lovely blended Autumn themed paper.
Blending Tip #4
Perhaps you’d rather use a patterned paper versus the photo. No problem. You can do that.
I’ll be using a paper from the “Wind Of Freedom Bundle” (now retired) a collaboration between Just Because Studio & PrelestnayaP Design:

I tried the full-page clip first:

Then the Wind Of Freedom photo mask I used above:

Both very pretty options. And if you don’t have any clipping masks refer back to my prior post about creating your own masks.
There’s one last option I want to show you…
Blending Tip #5
I have some stencils in my stash from back in the days when I did traditional scrapbooking. I scanned several of my old 12” x 12” stencils to use as cut files in my digital scrapbooking projects. Here’s one of them:

Let’s take a look at the various things you can do in creating blended papers with any cut files you may have.
I’m going to use that green paper from Metamorphosis again:

All I had to do was open the base paper in PSE, layer the cut file over that, re-size/re-position it so that I don’t have that stark black border all around the paper & set the opacity of the cut file to 40% and this is what happens:

Well, that turned out even better than what I’d planned. But let’s see what happens if I use that cut file like a mask.
I’m now going to use another paper from the Metamorphosis collection:
I layer that paper over the cut file and clip it to the “mask” (keeping the opacity level of the cut file at 40%) and this is the result:

I’m so happy with how this turned out. But there’s one last fun thing about using a cut file versus a traditional mask.
You can add a bit more depth by using a drop shadow on the cut file:

See how the trees pop off the page just a bit? You typically can’t do that with a traditional mask. Now, because the opacity of the cut file is set so low, I did have to use some pretty drastic shadow settings to get the look you see above. I set the Lighting Angle to 120 degrees, the Size to 25px, the Distance to 20px and the Opacity (of the shadow) to 100%.
Play around (practice) with things other than traditional masks to create some lovely blended papers! Try using transfers or paints you have in some of your kits…they generally will work just like masks. I hope you have fun blending!
Some Extra Pointers For Paper Blending

Creating your own blended papers gives you a whole new way to stretch your stash and create unique papers specific to whatever project you’re currently working. I really only touched the surface of all the ways you can blend paper with masks, paint or blend modes. Please take what tips I’ve given you and experiment on your own.
And remember…don’t be afraid to play with different opacity and blend mode settings to achieve new looks for old paper.
As usual, if you have any questions or need a bit of help, please don’t hesitate to “Message Me” for some assistance.
Thanks for reading this week’s Quick Tip. If you want to stay informed about next week’s post, just click “Follow Me” to get an update. I hope you have a wonderful week!
