
It’s All About The Frame
Ever run into a lovely frame that just doesn’t fit the size of your photo? I run into this a lot. And It’s not always easy to resize a frame without messing up the proportions. Today, I want to help you with a few tips…
Resizing Frames Correctly
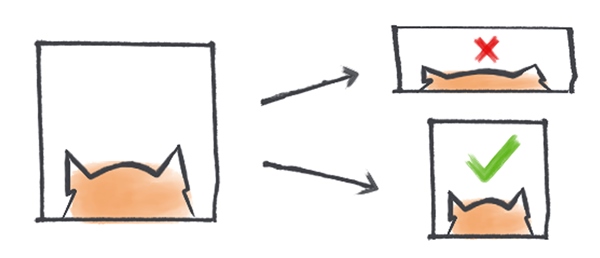
Sadly, I’ve seen this more than once. Someone will resize a photo or frame to make things “fit” and it’s so easy to see that the result isn’t quite right. If you don’t do it correctly you end up with a distorted image. Just like in the example above, if you merely shorten the height or lengthen the width, things start to look funny.
I’m going to show you how to keep things in proportion.
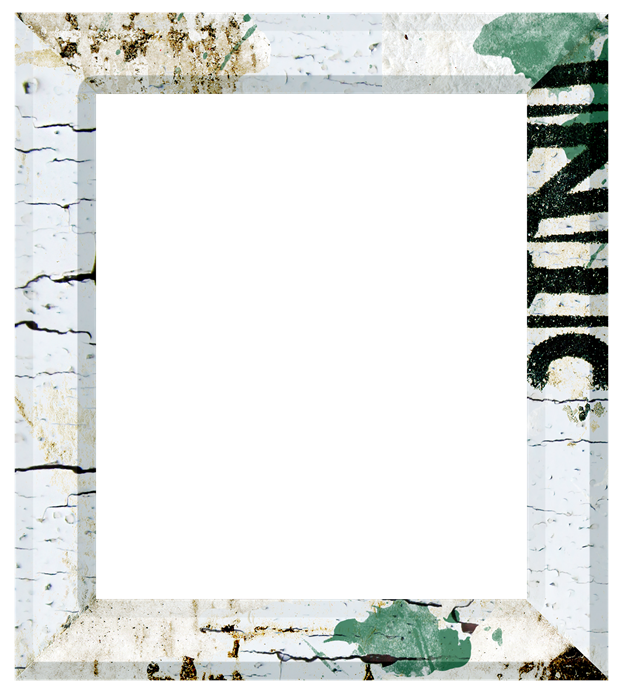
Rectangle Frame
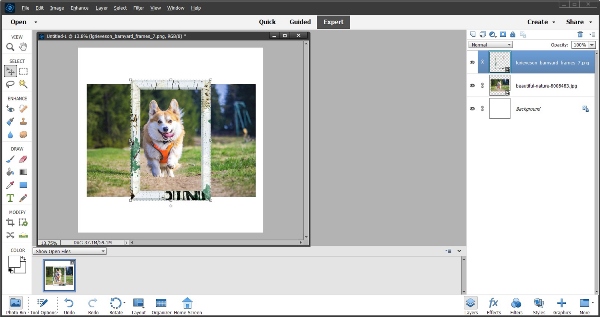
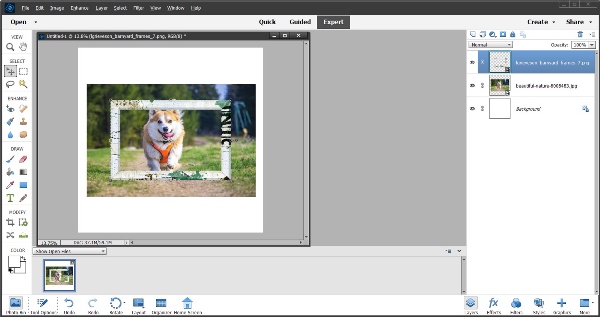
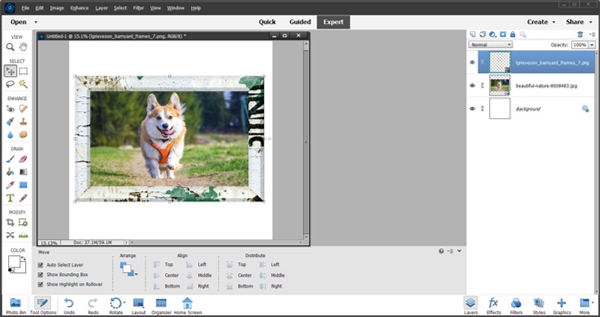
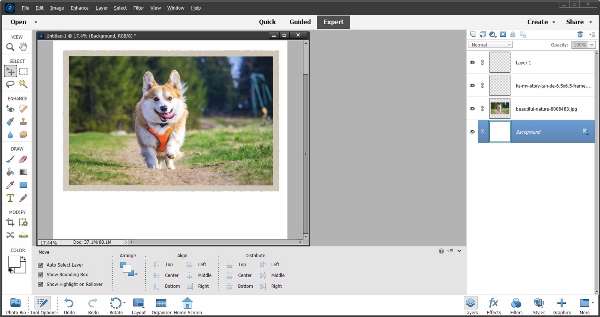
I have this cute picture of a friend’s corgi running along a path. I found a frame that fits the rustic yet artsy look I want. Note: The frame used for this example is from “Barnyard Frames” by Lynn Grieveson Designs.
I want to keep the picture’s landscape orientation so I obviously need to rotate the frame (I chose to rotate it 90 degrees left).
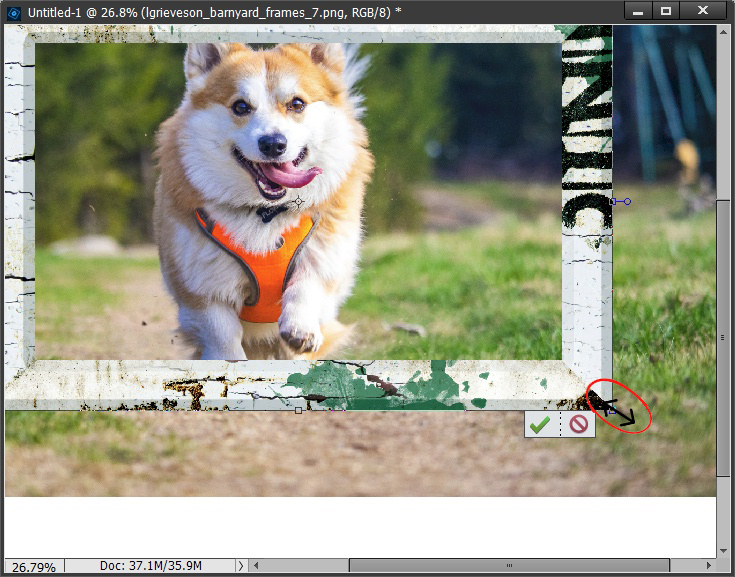
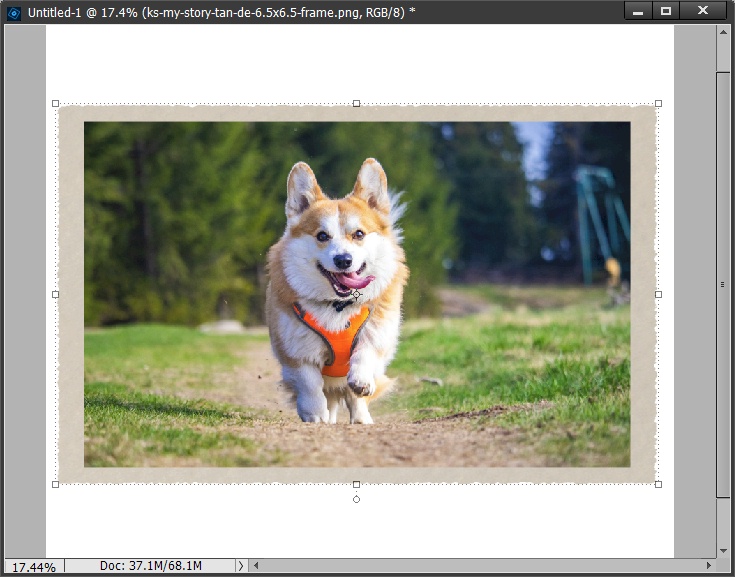
Clearly, the frame needs to be resized. So, how hard can it be to adjust this frame? That all depends on exactly what part of the photo I want to remain visible. I could just choose. To “grab” a corner and resize by dragging the frame to the appropriate size:
Here’s what happens if I just size it to fit the picture:
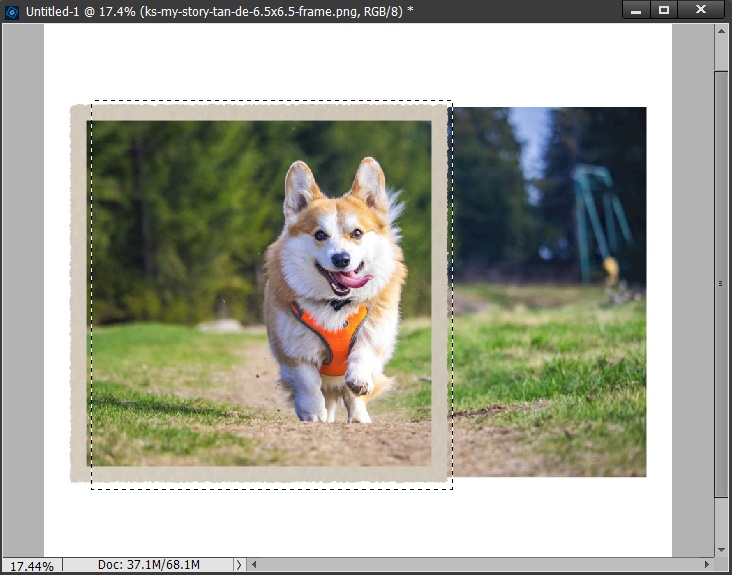
The frame stayed in proportion but I really don’t want all of the right side of that photo to be in the frame. And I do want the dog to be centered. If I just “grab” the right & left sides of the frame and drag them to the point of the photo I’d prefer to keep, this is what happens:
Do you see how the sides of the frame are now much narrower than the top & bottom? That clearly looks way out of proportion. I really love the look of this frame but not with these proportions. So, how do I fix this?
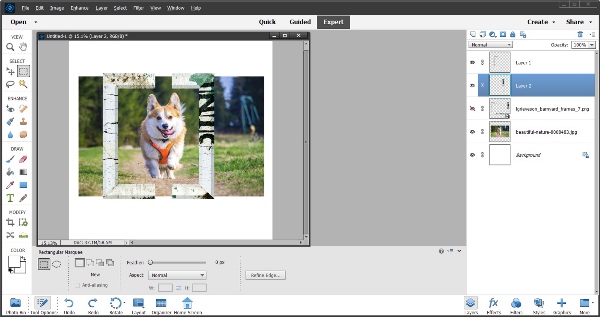
Create New Layers
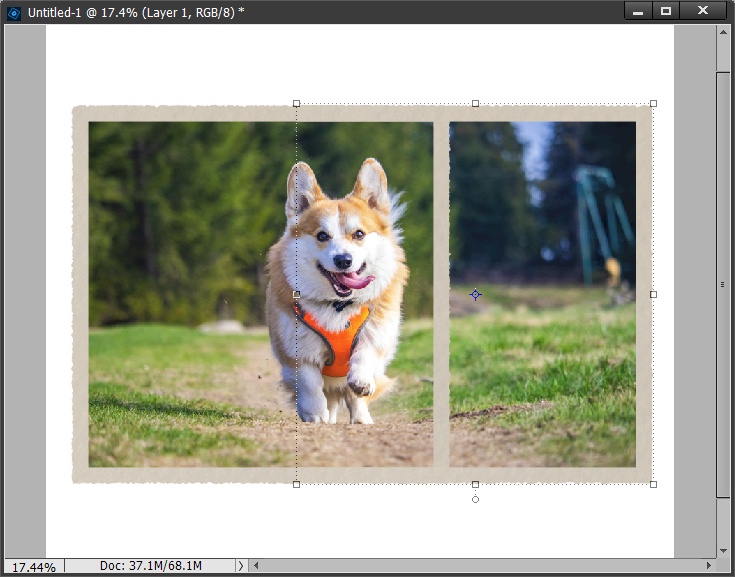
First, I’m going to copy portions of the left & right sides of the frame onto their own layers. I do this using the Rectangular Marquee Tool to create new layers via copy. I was very careful to include a large enough section on each side to preserve some of the rustic detail. With the new layers created I then moved them into the desired positions (I’ve hidden the original frame for now):
When I unhide the original frame it’s easy to see I’m not going to be happy with how I’ve lost some of the original detail at the top & bottom. And I don’t have the new layers positioned quite as nicely as I’d hoped:

The positioning is easy to fix. But I’m sure you’re wondering how I’m going to get back some of the lost detail.
I’m going to use a layer mask and brush away parts of each new layer until I’m happy with the result. Then I’ll delete the parts of the original frame (and photo) that are unwanted:
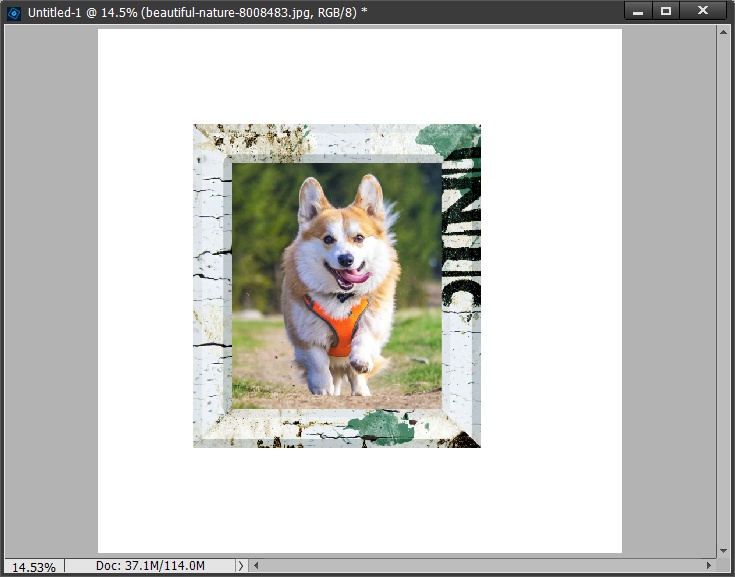
And now I have a proportionately resized rustic frame for that cute little corgi.
Clearly this technique will be much simpler with a frame that has less detail (i.e., a solid color frame). In those circumstances you can generally skip the “masking” step I used above. Extra tip: anytime I resize a frame using this technique I tend to save the newly created frame under a new name just in case I ever need the size/shape of that particular frame in the future.
Note: Even if you don’t plan to save the newly created frame, you’ll need to do one thing to allow for proper shadowing. You’ll need to merge the pieces of the new frame within your current project. If you don’t do this each “piece” of the newly created frame will have its own shadowing. This can result in shadows on places you don’t want to see shadows.
Square Frame
Before you go, I want to show you that square frames can also be tough to resize. I’m going to use the same photo. But this time I’m going to use a deckle-edged frame from the “My Story Collection” by Karen Schulz (retired). And this time I also want to keep the entire photo.

As with the rectangle frame in the prior example, just “stretching” the frame to be wider isn’t going to provide a proportionate result:
You can see that the top and bottom of the frame are narrower than the sides. The distortion isn’t quite as obvious as with the prior frame. But for a Type-A personality such as mine, this still looks off to me. So, what’s a girl to do?
Once again, I’m going to copy a portion of the original frame onto a new layer. But first I’ll position the original frame all the way to the left side of the photo:
I’ve used the Rectangular Marquee Tool to select all but the left most portion of the frame to create the new layer. This is going to give a new piece that is clearly more than I need to span the remainder of the photo. But I’d rather copy too much than too little.
With the new layer created all I have to do is move it all the way over to the rightmost portion of the photo:
Then, I’ll delete the rightmost portion of the original frame and check to see that I don’t need to clean up any part of the deckle edge. To exam the edge carefully I just zoom in pretty close and look for any odd overlapping. If I find any of that I’ll once again just use a layer mask to brush away anything that looks off.
Thankfully, having a deckle edge didn’t result in a need for any masking (at least on this particular frame). So, now I have a nicely proportioned rectangle frame.
I know to some the difference is pretty subtle and may not seem worth the effort. But for me, this makes for a much more balanced look.
There you have it, two different examples of how to properly resize a frame.
Single Most Important Tip About Proportionate Resizing
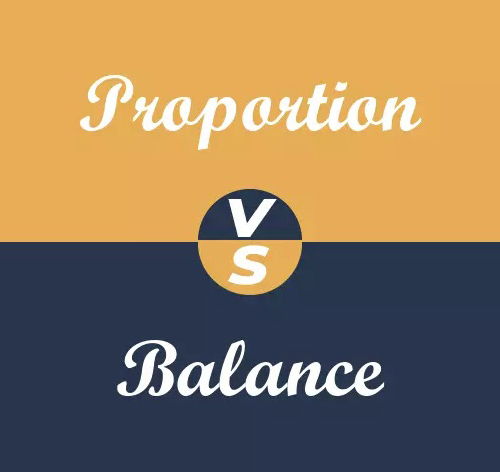
Proportion and balance in any creative work is important. Proportion is necessary to maintain harmonious arrangement or relation of parts or elements within a whole. Balance creates apparent harmony in art.
Always be sure that resizing frames, actually any element, is done properly so you maintain the correct proportions. Not only will you achieve a much more balanced look, this is yet one more way you can get the most use out of the supplies you already have on hand.
Also be sure you merge layers when creating new frames to allow for proper shadowing.
And, if you have any questions or need a bit of help, please don’t hesitate to “Message Me” for some assistance.
Thanks for reading this week’s Tuesday Tip. If you want to stay informed about new posts, just click “Follow Me” to stay in touch. I hope you have a wonderful week!
