Note Enough Photos?
Do you use layered layout templates? Are you also someone who rarely uses more than just a couple photos in a layout? If so, I’m sure you’ve run across a template that you love but find it has too many photo spots for your liking. I know I have.
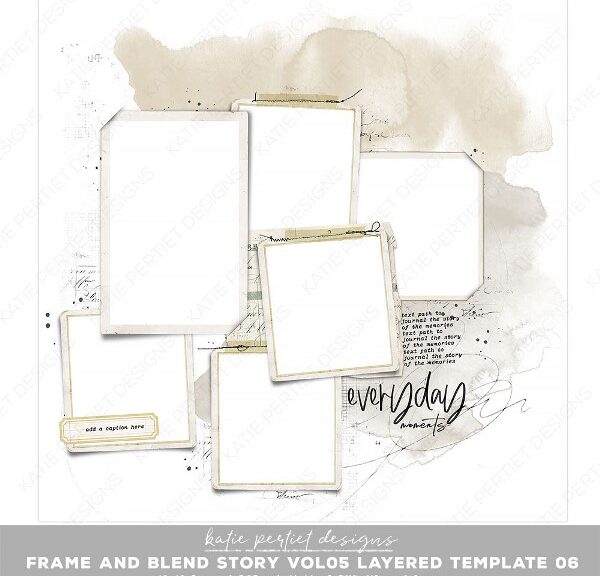
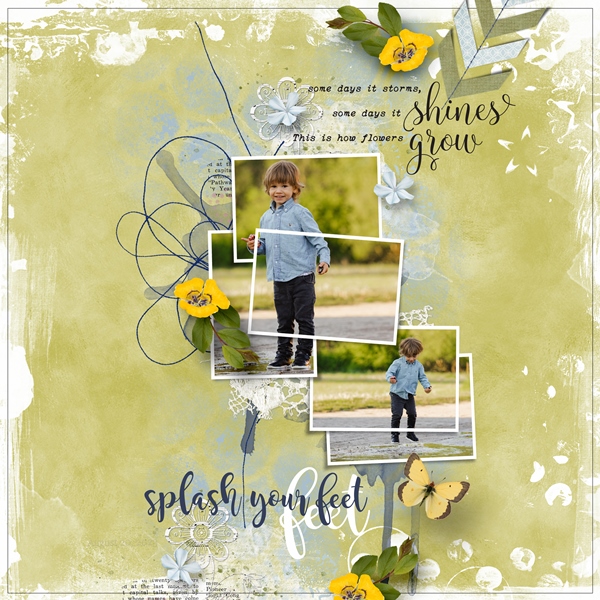
Take a look at the featured image above. This is an example of one that I really liked but initially wasn’t sure I’d use. Then I remembered a trick I learned a while back that made the template so much more appealing. Want to learn more? Keep reading…
Note: The template above can be found at Katie Pertiet Designs.
Too Many Photo Spots
I know some people are really not that into templates. Most of the people who are hesitant tend to make the same comment, “I don’t use that many photos on a layout.” Yes, sometimes you can just delete extraneous photo spots. But sometimes you can’t. What if deleting some of those spots throws the whole layout out of whack? Bet you’re thinking that particular template probably wouldn’t be useful.
Hopefully, what I’m about to explain will change how you view a template with too many photo spots.
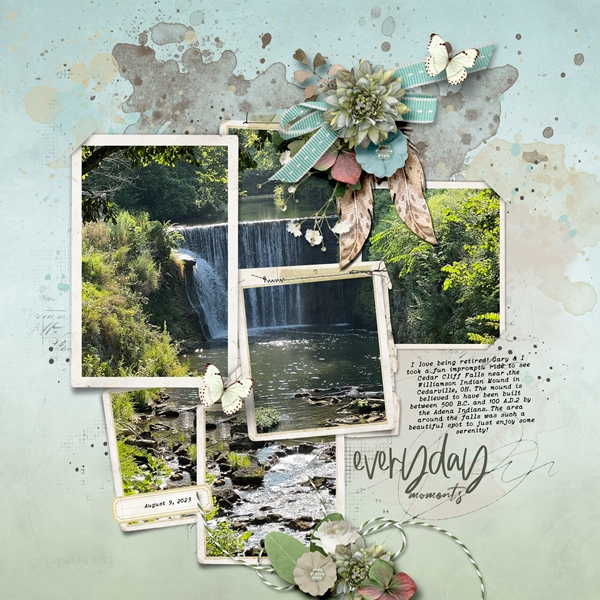
Note: The above layout is one I created for this post using the featured template and products from “Nature Journal” by Heartstrings Scrap Art. For more details about this layout, you can find it in my 2023 Personal Gallery.
When I first started digital scrapbooking, I was kind of stuck in a paradigm. So, what exactly is a paradigm? It’s a distinct set of concepts or thought patterns.
And a distinct set of thought patterns is exactly what I had after coming from the traditional scrapbooking world. In traditional scrapbooking you use one photo to fill each photo spot on your layout. At least that’s the way we used to do things. And that’s exactly the paradigm in which I was stuck…doing things the way I always did.
It took me what feels now like a long time to break out of that paradigm. But once I did…WOW! When I learned you can take one photo and use it to span multiple photo spots it was a real game changer.

Good news is, it’s not at all hard to master this method. The most important step is to find a photo that will work with the target arrangement of photo spots.
Then bring your photo into the layout, resize it (and rotate as necessary) so it covers all of the photo spots. Then all you have to do is duplicate the photo as many times as necessary to fill all the spots. Next, move each iteration of the photo to a photo spot in the Layers Panel. After that just clip the photos to each spot.
I generally start clipping my photos with the top most spot/photo in the Layers Panel. But that doesn’t mean you have to do it that way…no reason to start a whole new paradigm 😉
With all of the photos clipped to their designated photo spot, the very next thing I do is link the photos (not the spots) together. This will make them “behave” as one photo if I need to change size or orientation to get the best look in the grouping.
Finally, when I’m completely happy with the photo arrangement I go back and “cut” each photo to only the size required for its designated spot. If you don’t remember the best way to do that, please refer back to my post about Learning New Tricks.
Multiple Photos Can Span A Cluster
Sometimes I run across a template that has a photo cluster where more than one photo could work. Take a peak at this set of templates:
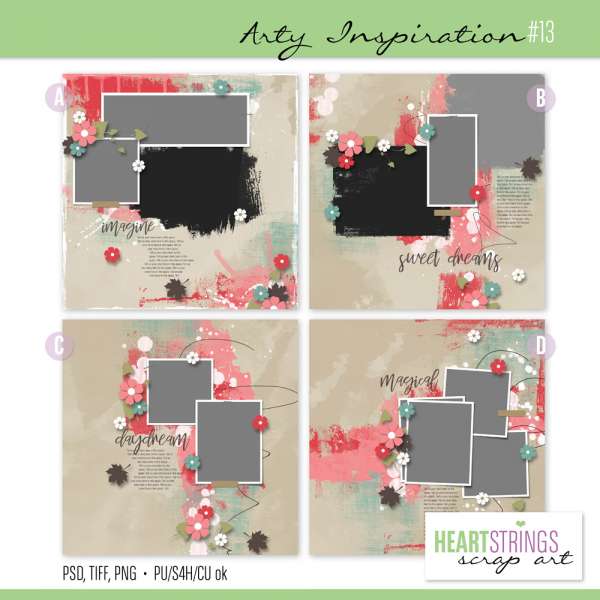
I love Heartstrings Scrap Art’s (HSA) templates. I use hers a lot. The preview above shows her “Arty Inspirations #13” template set. The template at the bottom right would be great for two photos. See what you think…
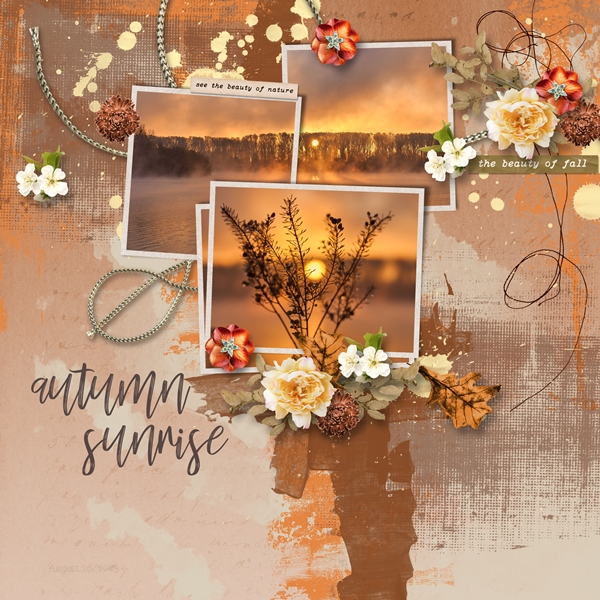
I created this layout using that template (rotated to the left) and products from “The Naturalist” also by HSA. For more details about this layout, you can find it in my 2023 Personal Gallery.
And just one more example for some inspiration. Here’s another set of templates from HSA “Arty Inspiration #5”.
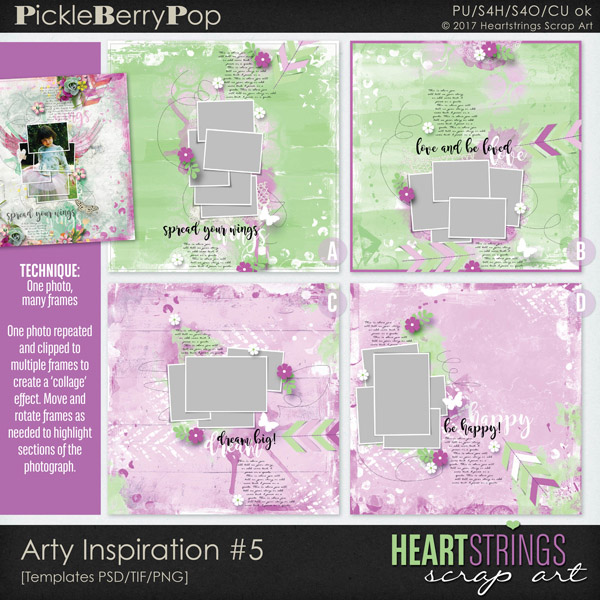
With a little bit of modification, the upper right template should work well. Take a look…
I created this layout using that template (shifting the bottom two photo spots to the right) and products from “My Secret Garden” also by HSA. For more details about this layout, you can find it in my 2023 Personal Gallery.
Before I leave you, here are just a couple more examples of templates that could lend themselves to one photo:
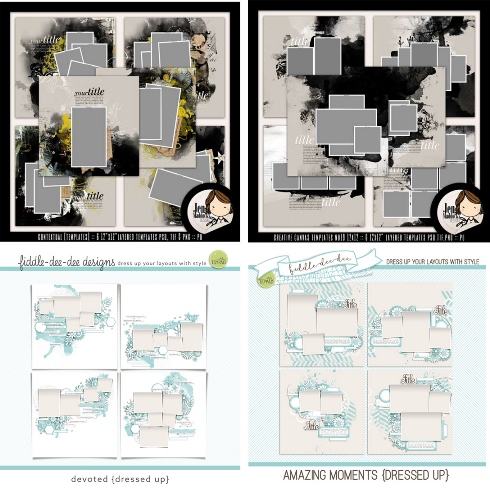
Jen Maddocks Designs & Fiddle-Dee-Dee Designs are two more of my favorite template designers. Sadly, Jen has retired and her templates are no longer available. Cheryl of Fiddle-Dee-Dee has moved from The Lily Pad to Sweet Shoppe Designs and you can find similar templates by her there. They each have lots of templates that would work well with this “one photo” technique.
But that’s just the tip of the iceberg. There are so many templates out there that will work. And my guess is, if you already use templates, you likely have some in your stash that would be fun to play with.
Some Important Tips For One Photo Across Multiple Spots
Break out of the paradigm. Nothing says you have to use six photos when one will work. Let yourself go and have fun with it.
Be sure to link all copies of your photo together. This will make it easier to move, resize or rotate the “group” as a single unit.
Remember…sometimes you can use more than one photo in a cluster.
Don’t limit yourself to just looking at layout templates. Experiment with any photo cluster templates that you may have. These tend to lend themselves perfectly to using one photo for the entire “clustered” grouping.
As usual, if you have any questions or need a bit of help, please don’t hesitate to “Message Me” for some assistance.
Thanks for reading this week’s Tuesday Tip. If you want to stay informed about next week’s post, just click “Follow Me” to get an update. I hope you have a wonderful week!
