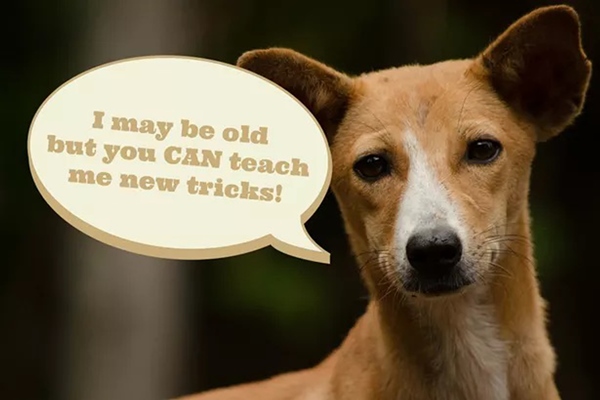
I Keep Learning New Tricks
I know I’m risking falling into “beating a dead horse” territory. But I do have another update on a paper clipping technique in Photoshop Elements (PSE).
As I mentioned in my prior post about a new tip for clipping paper & reducing file size, a very dear friend of mine who uses full Photoshop, was trying to help me figure out a better way to do something I’ve been doing (for a while) in PSE. Well, she was finally able to get this old dog to learn an even better trick than what I thought I had already learned. This updated tip cuts out a couple steps so I’m very happy about that. If you’re interested in this latest update read on to see what I have to share this week…
Clipping Paper Update
Every tip/trick I post about is done using PSE. Also keep in mind that some things behave differently in full Photoshop than the way I see things in PSE. I point this out because this difference is actually the root cause for this next update.
So, in that prior post about teaching old dogs new tricks I tried to give you a better (hopefully easier) method of clipping papers to shapes/elements. This all has to do with how to best cut that paper/photo down to only the size required. But I have an update on how to do this more simply.
I’ll be using the same “Lighthouse” layout as before to discuss this new tip. Again, for more information about that layout you can view it in “my gallery”
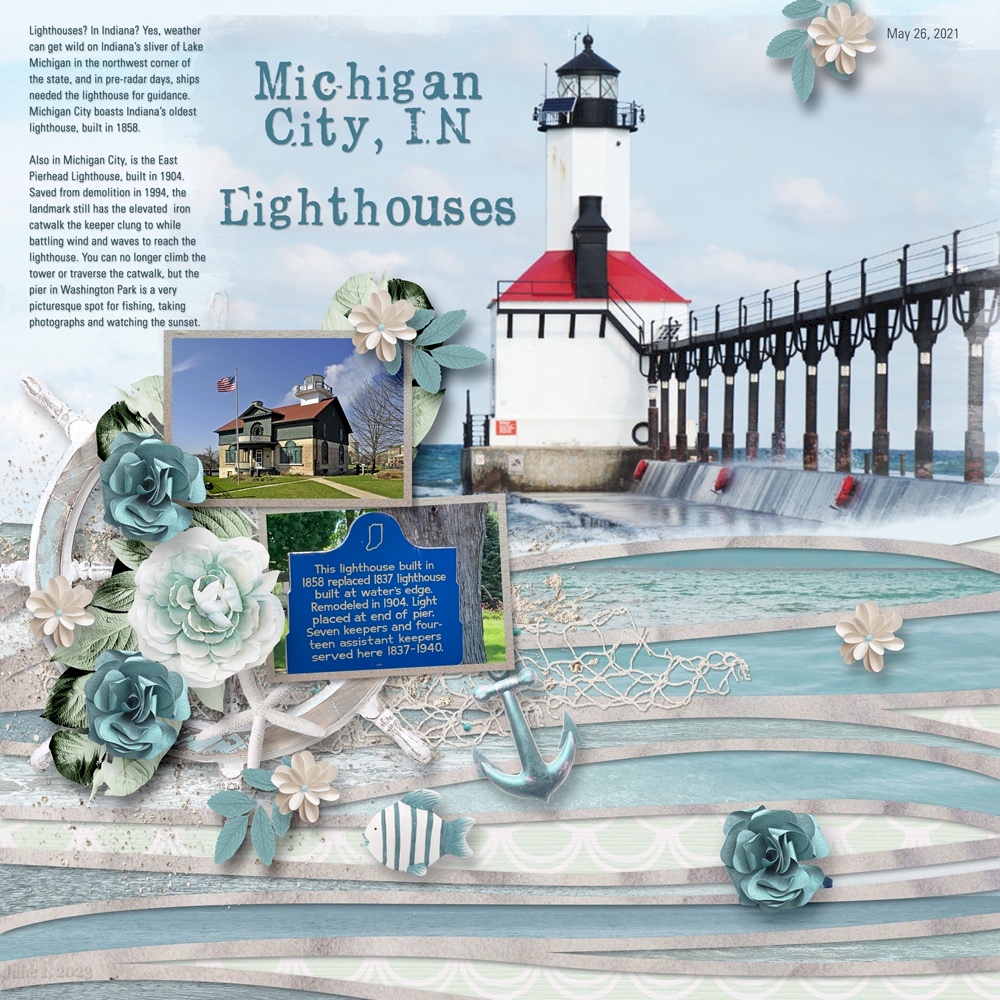
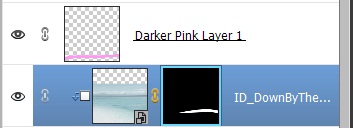
Now, looking at the PSD file for this layout, you can see the “outline” of the full sheet of paper still visible in the layout’s workspace? Clearly, the entire piece of paper is not needed. But it will remain full size when we save the PSD file.
Rather than creating a new layer of that paper (as previously described) with only the portion required to cover the shape to which it will be clipped, I’m going to show you how to use a layer mask instead.
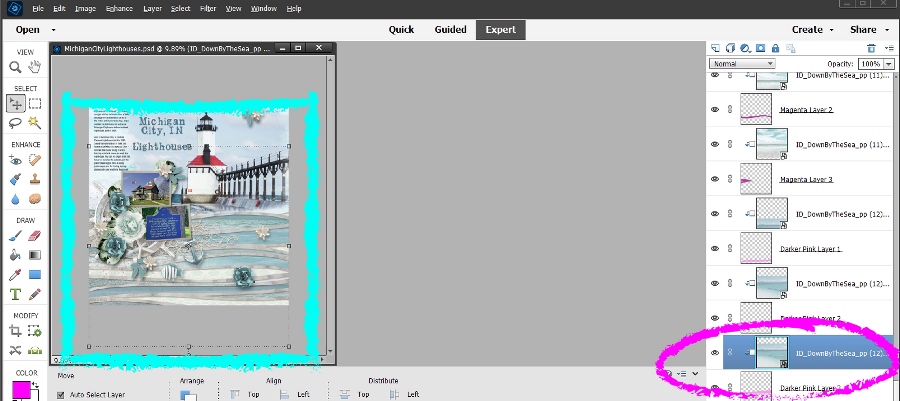
With the paper layer selected, I Ctrl+Click on the shape layer’s thumbnail in the Layers panel:

Once I do that you can again see those familiar “marching ants” around the shape to which the paper is clipped:
Ensuring that the paper layer is still selected, I then click the “Add layer mask” tool in the layers panel.

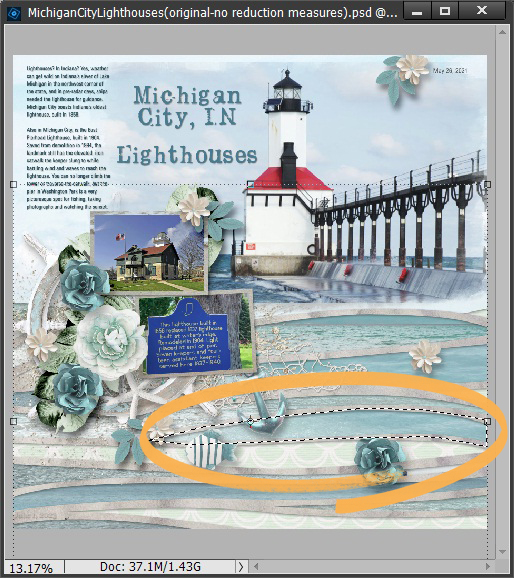
See how the mask layer shows only that small strip of paper remaining? This is exactly the only part of the paper I want to keep.
Now, I right click on the paper layer’s thumbnail and select “Simplify Layer”.
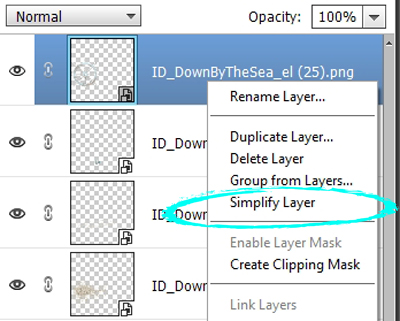
And voila…only the portion of the paper selected is left in the Layers panel.
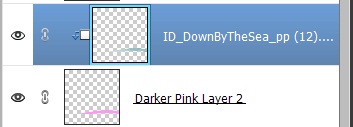
No more creating a new layer, renaming it and deleting the original paper layer. I am thrilled with this new technique. This new method feels so much easier and more efficient. It sure beats the way I’ve been doing it for years! And I’ve never seen/read a tutorial that described it the way my friend showed me.
Note: I do want to mention that this method also may not always work well with objects that have “fuzzy” edges. Things like paint, transfers, stamps, etc., having very diffuse edges can make it tricky. Still give it a try. If you find that not all of the object gets selected you can revert to the method I described previously (creating a new layer).
Most Important Tips About New Tricks

It’s so easy to keep doing things the way we always have. It’s familiar & comfortable. I try to always be open to new ways of doing things. Learning something new allows me to pass that new information along to others who might benefit.
Remember always to only start cutting clipped papers down to size AFTER you’re certain the layout is finished.
As usual, if you have any questions or need a bit of help, please don’t hesitate to “Message Me” for some assistance.
Thanks for reading this week’s Tuesday Tip. If you want to stay informed about next week’s post, just click “Follow Me” to get an update. I hope you have a wonderful week!
